
Office map editor: an overview of the actions
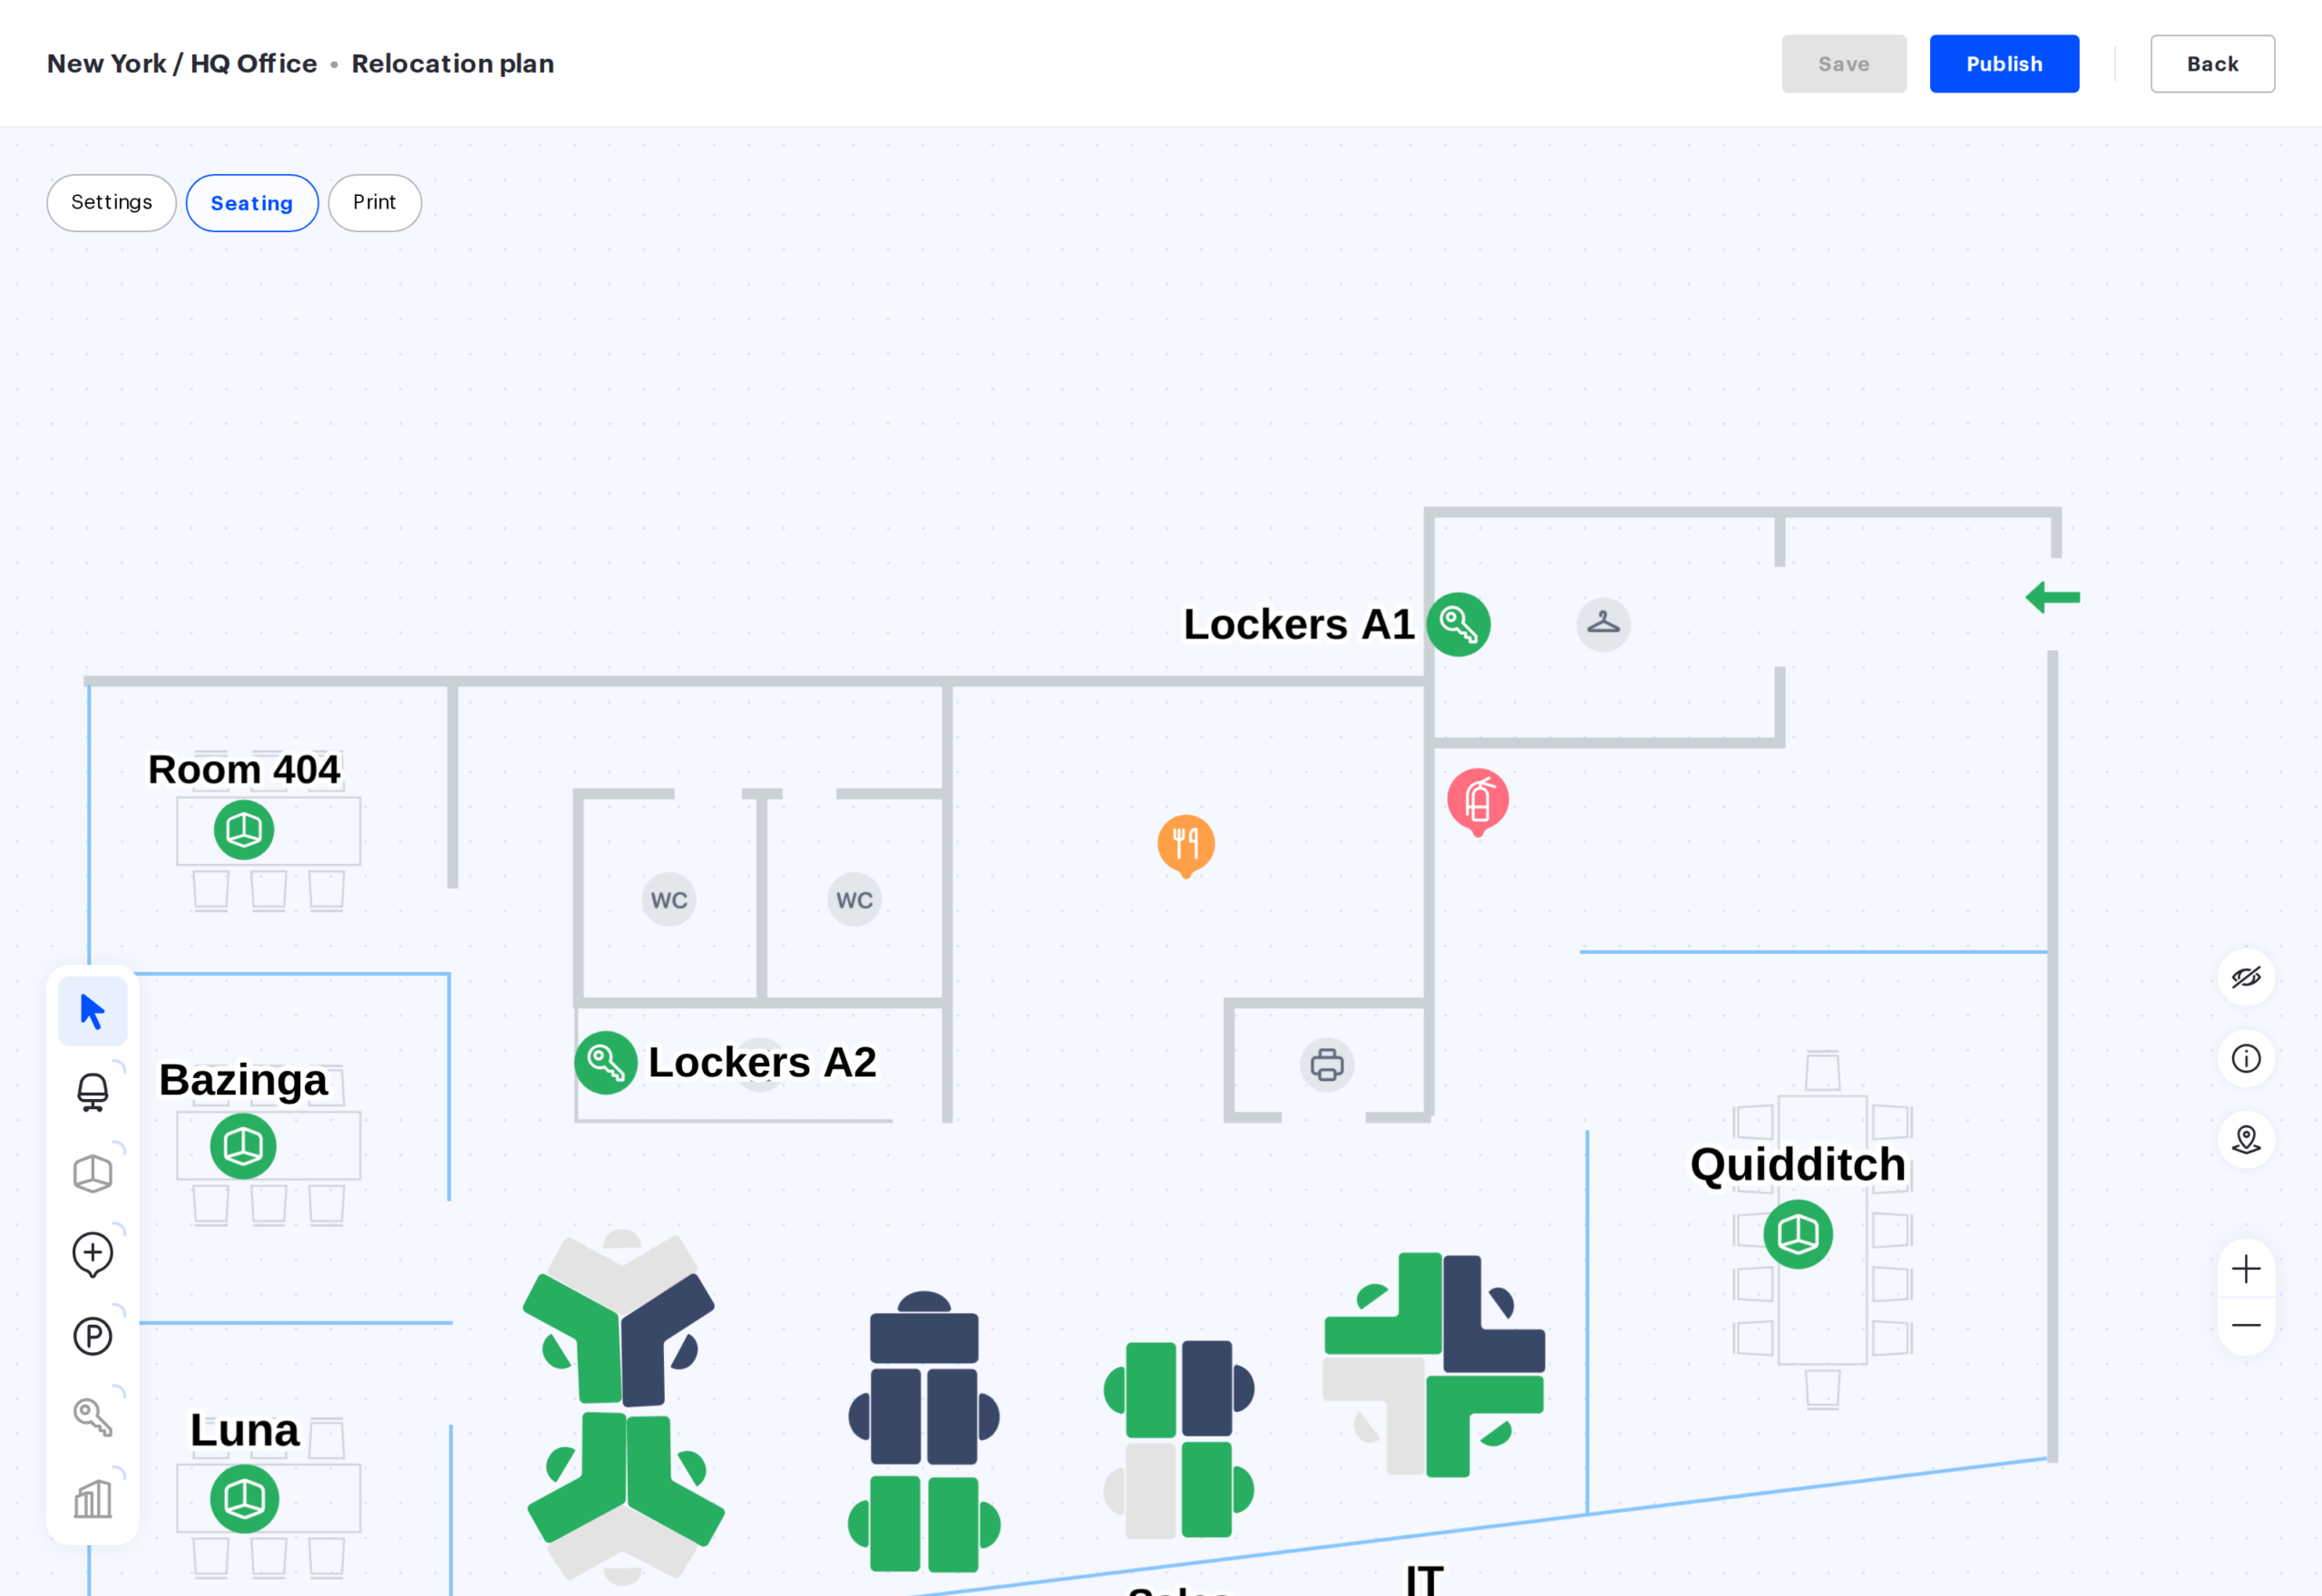
The office map editor is the single tool for working with the floor plan and every object on it. This article is a guide to the cluster: which actions with the map are possible and where each of them is described in detail. There are no step-by-step instructions here — they live in the articles the links lead to.
What you will need
- the Super Administrator, Office manager or Offices Administrator role — other roles do not open the map page;
- a workspace created under “Manage → Office management → Workspaces”;
- a floor plan in png or jpg, up to 5 MB;
- a computer with a browser: on a phone or a tablet the editor opens, but adding objects and the action panel are disabled.
Where to start: a draft or the published map
The Change map button in the workspace list leads to the Drafts page, and there you choose what to work in. The choice is made once, before any edits:
| Option | When it fits | Limitations | Article |
|---|---|---|---|
| Published version | A small edit you are not afraid to show at once: rename a desk, change the amenities | Changes are visible to employees right after saving; changing assignments asks about emails | Seating drafts: overview |
| Draft | A relocation, a redesign, several layout options, work over several sessions | No more than 10 drafts per workspace; the “For period” assignment is unavailable | Seating drafts: create, duplicate and delete |
Seating drafts
- Seating drafts: overview — why drafts exist, the Drafts page, who can work with them;
- Seating drafts: create, duplicate and delete — three ways to start a draft, name requirements, the limit;
- Publishing a seating draft — what happens to the map, the objects, bookings and assignments.
Editor modes
The editor works in three modes, and each has its own reader: placing objects is rare, configuring them is constant, and printing is needed by people who never edit the map at all.
- Map editor: placing objects — how objects get onto the plan, geometry, pods, hotkeys;
- Map editor: configuring placed objects — desk parameters and bulk editing;
- Printing the office map — colour schemes, labels, legend and the print area.
Objects on the map
- The floor plan: upload, replace and delete the map — the map background and file requirements;
- Desks on the map — adding, the card, copying and deleting a desk;
- Desk types — what each type of use means;
- Assigning a desk to an employee — assignments and reseating;
- Desk pods — creating, changing the contents and ungrouping;
- Meeting rooms on the map — placing, swapping and hiding a room;
- Parking spaces on the map — how parking differs from a desk;
- Points of interest on the map — markers that are not booked: a coffee point, a lift, a first aid kit.
The order of work when setting up a new office
The steps are in this order for a reason: skip any of the first three and you will run into a disabled button.
- create the workspace in the Workspaces section;
- create an empty draft and upload the floor plan into it — without a plan, Save and Publish are disabled;
- place desks and parking spaces in the Seating mode, grouping desks into pods where needed;
- place meeting rooms, lockers and nested workspaces — they have to exist already;
- switch to Settings and set the parameters of the places: type of use, department, amenities, access groups, assignments;
- check the plan in the Print mode and print it if needed;
- publish the draft — until then employees do not see the workspace. Publishing cannot be undone: the previous map is not kept and the draft is deleted, so before publishing over a map that is already in use, run Duplicate on the published version — the copy stays as a backup draft.
Where to go if
| Symptom | Where to go |
|---|---|
| The Save button is disabled | No floor plan has been uploaded into the draft — “The floor plan” |
| A draft cannot be created | The limit of 10 drafts is reached or the name is taken — “Creating a draft” |
| A desk does not move with the mouse | You are in the Settings mode — “Placing objects” |
| The meeting room tool is disabled | Every room of the office has already been placed — “Meeting rooms on the map” |
| There is no “For period” button in the card | You are in a draft: that assignment type is not supported there — “Publishing a draft” |
| Employees do not see the workspace | The workspace has no published version — “Publishing a draft” |
Related
- Locker management — lockers and cells on the office map;
- Resource access rights — who can book which places;
- Check-in policies — what happens to bookings that nobody confirms.