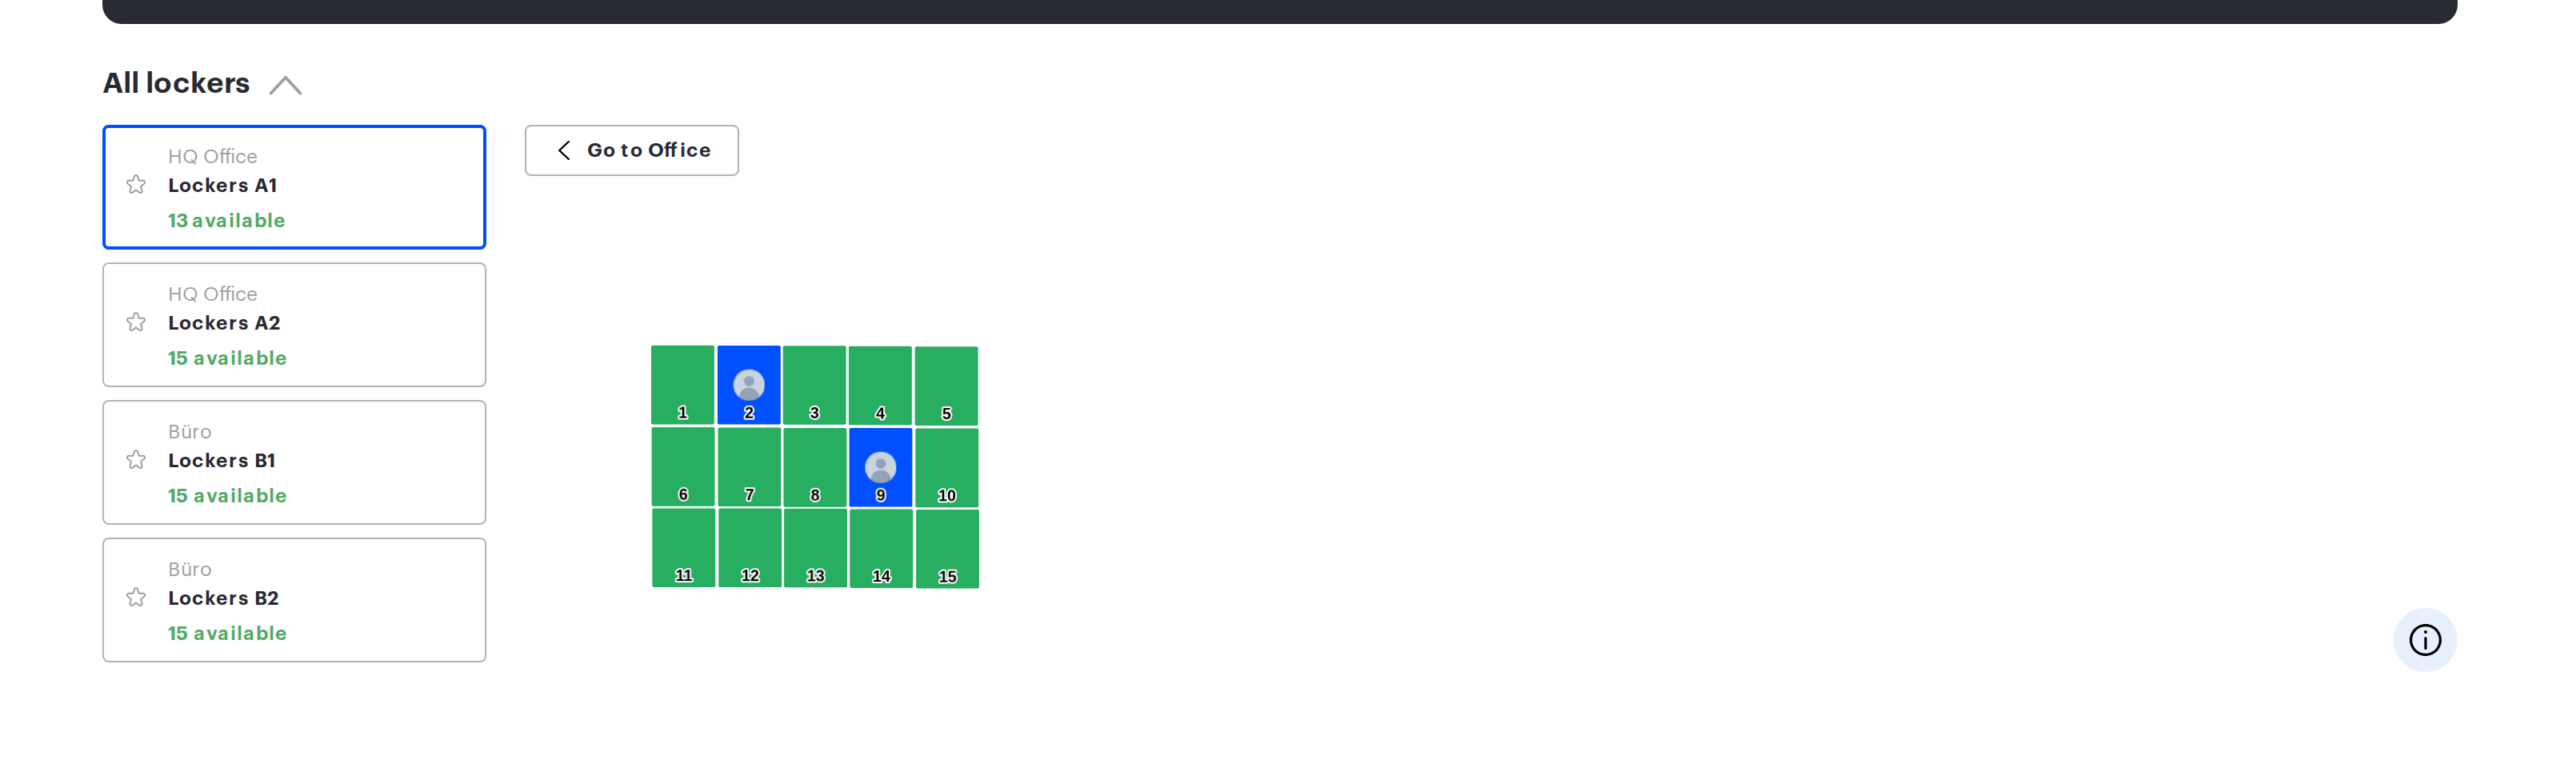
Lockers are cabinets with cells where employees keep personal belongings. An administrator creates a cabinet and lays its cells out on a map, an employee takes a cell on the Lockers page and keeps it until it is released by hand or until the locker booking horizon expires, and — when an electronic lock system is connected — opens it with a button in the app. This article is the entry point to the topic: it shows which article covers your task, in what order everything is set up, and where to look when something does not work.
The order matters at two steps: cells cannot be laid out before the cabinet image is uploaded, and they cannot be linked to locks before the integration is connected.
Create the locker and decide who can see it: nobody, selected groups or everyone. While the cabinet is being prepared, “Nobody” is convenient — employees will not see it.
Upload the cabinet image and lay out the cells on it, giving each a name and access groups.
Connect the lock system — only if the cabinets are electronic. This step is optional: without it lockers work as ordinary ones, just without the opening button.
Link the cells to locks in each cell form and save the locker map.
Open the cabinet to employees by switching its visibility to the right groups or to everyone.
Check the occupancy a few weeks later on the locker analytics tab — it shows whether there are enough cells.
Who can do what
Action
Who can do it
Create, edit and delete a locker; lay out its cells
Super administrator, Offices Administrator
Connect and disconnect the lock integration
Super administrator, Integrations Administrator
Pick a physical cell in the cell form and save that link
Super administrator only — the external cell list is returned to them and to an Integrations Administrator, while saving the map is available to them and to an Offices Administrator
Take a cell and open it
Any employee with access to the cell — their own cell
Release someone else’s cell, open any occupied one
A user whose Subordinates setting is All users, or a manager who has the booking owner among their subordinates. The Super administrator role alone does not grant this: assigning the role clears the Subordinates setting. What an administrator can do instead is disable or delete the cell in the map editor, which removes the booking with it
Limits and common misconceptions
A cell booking is open-ended unless the locker has a booking horizon. There are no dates and no rental period: the cell stays with the employee until they, their manager or an administrator release it. An enabled horizon removes the booking automatically after the configured number of days — the setting is described in Locker management.
Cabinet visibility and the right to take a cell are different settings. The switch on the locker decides whether an employee sees the cabinet; the access groups on the cell decide whether they can take it.
There is no per-employee cell limit. Booking a cell for a colleague, on the other hand, is now possible — whether it is available depends on the company policy for booking on behalf of others (see Locker booking).
Private locker mode hides booking owners. With private bookings enabled for a locker, other employees see that a cell is taken but not who took it — administrators included.
Electronic locks are a separate integration. Lockers work perfectly well without it; the “Open locker” button simply does not appear.
“Open locker” is a short opening. The lock closes itself after 10 seconds; there is no “close” or “keep open” command in the interface.
A space that still holds lockers cannot be deleted — delete or move the cabinets first.
When something does not work
Symptom
Where to look
An employee does not see the cabinet on the Lockers page
The locker access groups — on the locker page, in the “Booking Rules” modal — Locker management
The cabinet is visible but a cell cannot be taken
The cell access groups and its cell type: “Unavailable for booking” keeps the cell out of bookings
A cell has no “Open locker” button
The cell is not linked to a lock, or it is free — a free cell has no button for anyone. Check the link in the integration setup
“Something went wrong” when opening a cell
The lock server availability and the token; the system does not retry the request — see the exchange protocol
All links disappeared after the integration was disconnected
That is how it works: disconnecting clears the link on every cell in the company. They have to be matched again
You need the history of who occupied a cell and when
Analytics → Reports, the locker booking history report