
Locker integration setup: Pocket Lock
UnSpot lockers can be linked to the Pocket Lock electronic lock system: every cell on the locker map is matched to a physical lock, and an employee opens their cell with a button right in the app. This article covers what to prepare before connecting, how to connect the integration, how to link cells to locks and what happens when the integration is disconnected. Setting up the lockers and cells themselves is described in “Locker management”.
What you will need
| Item | Why it matters |
|---|---|
| UnSpot role | A Super administrator or an Integrations Administrator connects and disconnects the integration. Completing the whole linking cycle, however, takes a Super administrator: the list of Pocket Lock cells is returned only to them and to an Integrations Administrator, while the locker map can be saved by a Super administrator or an Offices Administrator. An Offices Administrator sees an empty selector; an Integrations Administrator gets a permission error when saving the map |
| Server address | Entered in full, including the scheme — the field placeholder shows the format. A non-default port goes into the same field |
| Authorization token | Issued on the Pocket Lock side. UnSpot sends it with every request to the lock system; one token applies to the whole workspace |
| Network access | Requests are sent by the UnSpot server, not by the administrator’s browser. The address must be reachable from the UnSpot servers; over HTTPS the certificate must pass normal validation — a self-signed one will not work |
| A ready locker map | Linking is done in the cell form, so create the locker and its cells first |
Connecting the integration
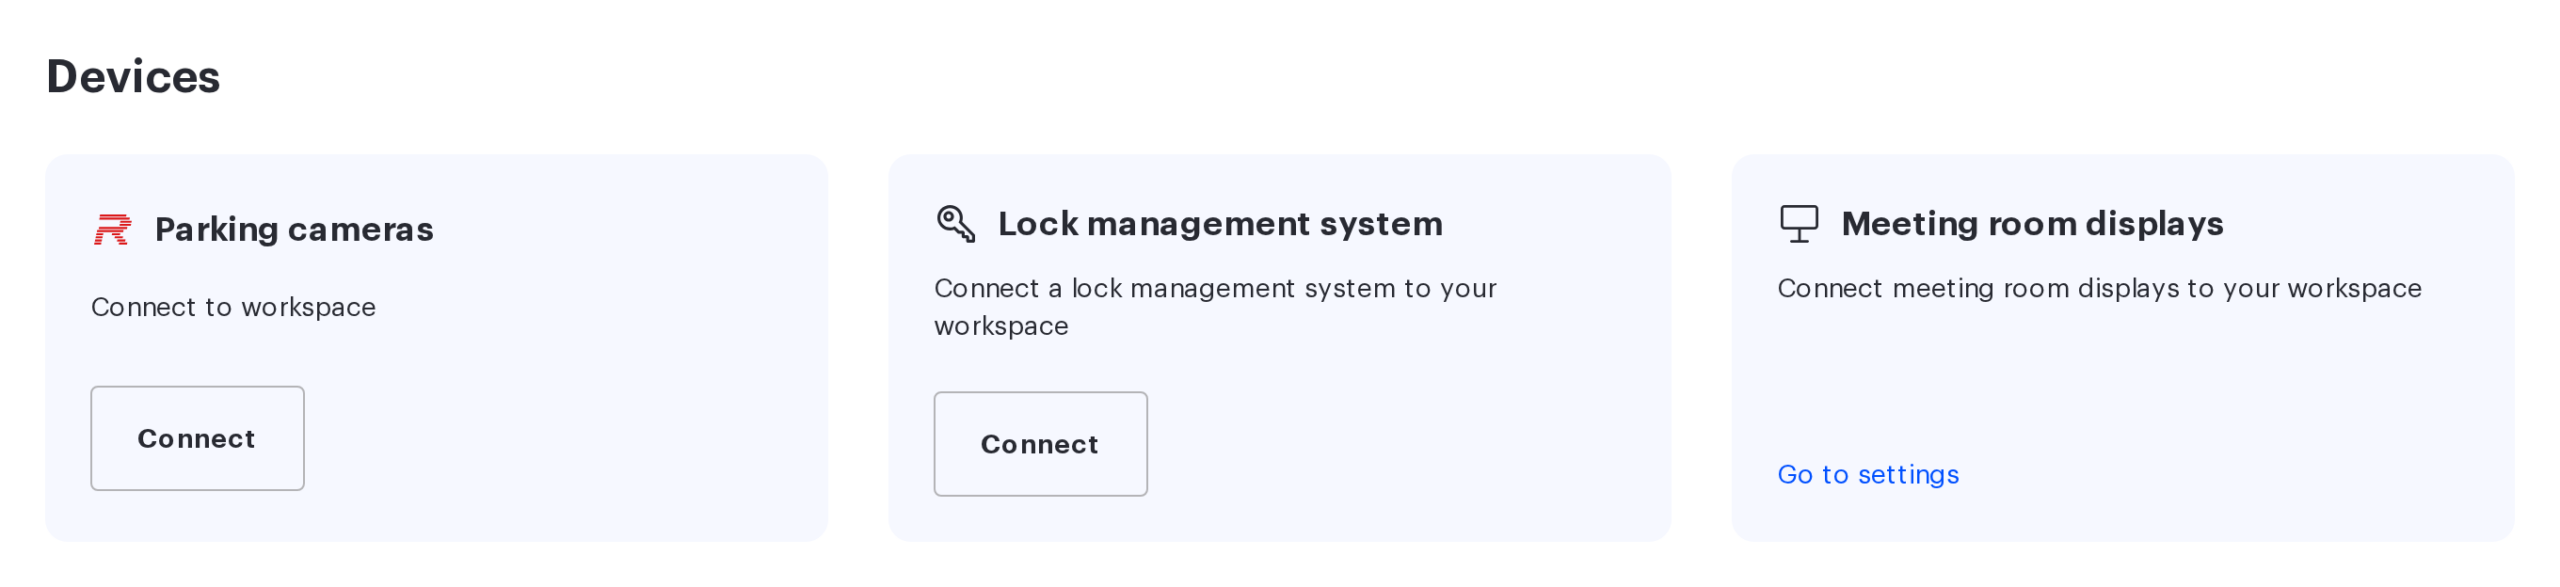
- Go to Manage → Integrations → Synchronisations and scroll down to the “Devices” section.
- On the “Lock management system” card — its description reads “Connect a lock management system to your workspace” — click Connect.
- Fill in the two fields in the “Integration with Pocket Lock” window.
- Click Save. The button unlocks as soon as you type into either field, and the values are validated on submit: if a field is empty or too short, the form is not sent and a message appears under it.
Keep in mind. The card itself does not mention the vendor — the “Pocket Lock” name appears only in the title of the connection window.
| Field | What to enter | Limits |
|---|---|---|
| Host | The full address of the Pocket Lock server, including the scheme | Required, 4 to 255 characters — otherwise “Minimum 4 characters” or “Maximum 255 characters” appears under the field. A trailing slash may be left in place, it is stripped automatically |
| Authorization token | The token issued in the Pocket Lock system. The field hint reads “Your Pocket Lock authorization token” | Required, up to 255 characters. This is a plain text field, so the value is visible on screen — enter it where the monitor cannot be read over your shoulder |
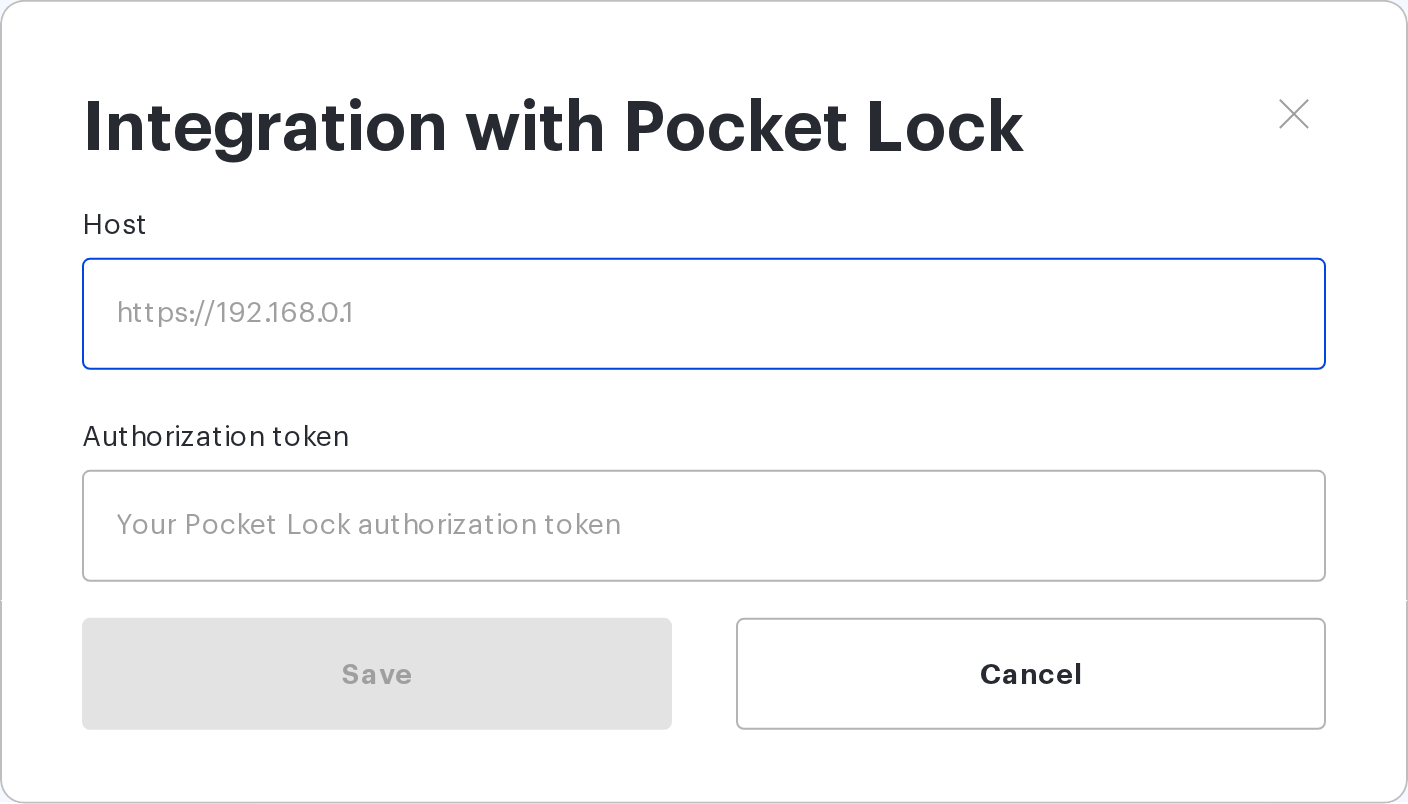
Right after you save, UnSpot calls the Pocket Lock server and requests the list of cells — this checks the address and the token at once. On success the message “Pocket Lock successfully connected” appears, and the Connect button on the card is replaced by a “Connected to workspace” line with your company name and a Disconnect button.
Linking cells to locks
Connecting the integration on its own opens nothing: every locker cell in UnSpot has to be matched to a physical Pocket Lock cell.
- Go to Manage → Office management → Workspaces and click Change map in the row of the locker you need.
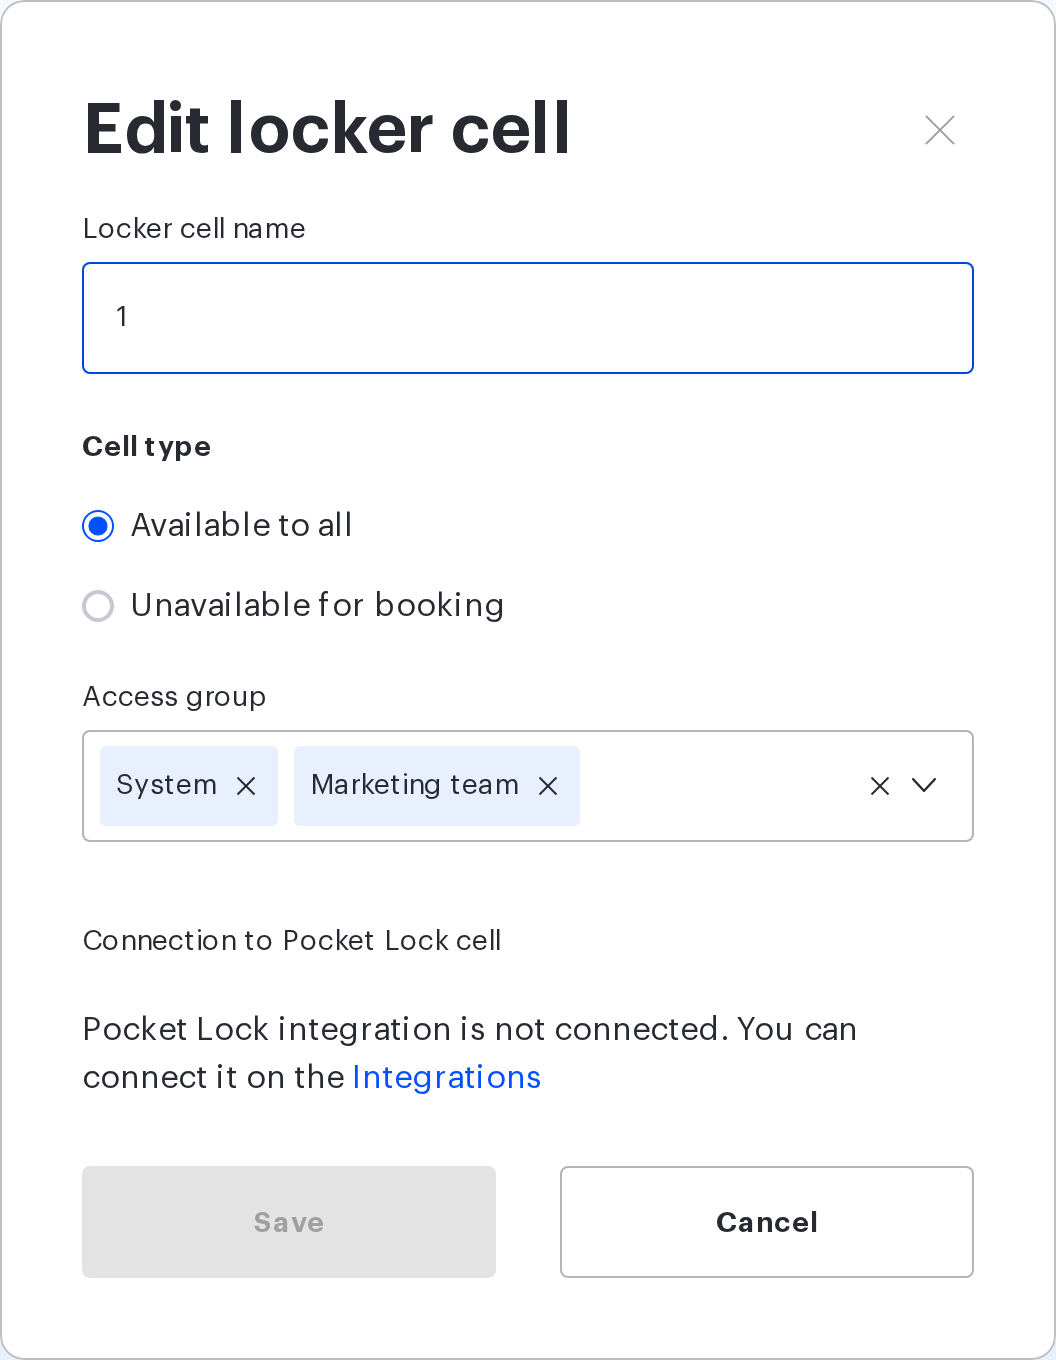
- Double-click a cell to open the “Edit locker cell” form.
- In the “Connection to Pocket Lock cell” block pick a cell from the list.
- Repeat for the other cells and click Save in the editor toolbar: until the map is saved, the links are not applied.
What to know about this list:
- it contains free cells only — cells already linked to other UnSpot cells are not shown;
- the list is loaded once, when the map editor opens. If cells were added or released in Pocket Lock after that, reload the editor page;
- the field may be left empty — the cell then works as a regular one, without a lock;
- duplicating a cell does not copy the link: the copy has an empty field;
- link one Pocket Lock cell to one UnSpot cell only. Within a single locker the system enforces this and warns “The external cell already connected”.
Keep in mind. While the integration is not connected, the cell form shows the hint “Pocket Lock integration is not connected. You can connect it on the” with a link to the Integrations page instead of the selector.
What employees get
An “Open locker” button appears in the window of a linked cell on the Lockers page; in the locker card in My bookings the same action is called “Open the cell” (on a phone it reads “Open”).
- pressing it sends a pulse to the lock: the lock opens and locks itself again after 10 seconds;
- the button can be pressed again after 10 seconds — it stays disabled until then. The countdown is kept by the browser, so another device is not blocked;
- on success the message “Cell successfully opened” appears, on failure “Something went wrong. Please try again later”;
- the button is only shown for an occupied cell that is linked to a lock: employees open their own cell, a Super administrator can open any occupied one. A free cell has no button at all;
- on the Lockers page the cell window has to be pinned with a click — hovering alone does not reveal the button;
- every opening lands in the locker booking history report together with the action source, Desktop or Mobile.
Keep in mind. There is no separate “close the cell” or “keep open” command in the interface: the only available action is the short opening, after which the lock closes on its own. How an employee books and releases a cell is described in “Locker booking”.
State synchronization
UnSpot stores the last known state of every linked cell — open, closed or lock unavailable — and refreshes it by requesting the statuses from the Pocket Lock server.
- the request is sent when a locker map is saved and an already existing cell was assigned a Pocket Lock cell. The refresh runs as a background job, so the states change with a small delay;
- there is no scheduled background polling — between saves the state in UnSpot does not refresh by itself;
- a short opening does not change the stored state — it is updated only by the next synchronization;
- the states can be refreshed on demand with the unspot:sync-external-locker-cell-states maintenance command on the UnSpot server side — ask support.
The “Open locker” button does not depend on this synchronization: it sends the command to the lock at the moment it is pressed.
Messages and what they mean
| Message | When it appears | What to check |
|---|---|---|
| The remote server is not responding. Check the correctness of the entered data. | When the connection settings are saved. This is a single text for any failure — it does not distinguish a wrong token from an unreachable address | The address and the port; whether the address is reachable from the UnSpot servers; the token; the certificate validity; whether the server answers the cell-list request in the expected format |
| Minimum 4 characters · Maximum 255 characters | On Save, when the Host field is shorter or longer than allowed | That the address is entered in full, including the scheme, and carries no stray characters |
| Something went wrong. Please try again later | For an employee pressing “Open locker” or “Open the cell” | Whether the cell is linked to a lock; whether the Pocket Lock server is reachable; whether the token was rotated on the lock system side |
There is one more message — “Integration is not connected.” It comes back in the API response and shows up in the server log, but never in the interface; the same text is also returned when a cell simply has no lock linked to it.
The exact set of requests, the response formats and the requirements for the lock system are described in “Locker integration: lock system API requirements” — a convenient article to hand over to the hardware vendor.
Disconnecting the integration
The Disconnect button acts immediately, without asking for confirmation, and does two things: it deletes the stored address and token, and it clears the lock link on every cell of every locker in the company.
The lockers, the cells and the active bookings all stay — only the links are lost. After reconnecting you will have to match cells to locks again, one by one, so it is worth writing down the current “UnSpot cell to Pocket Lock cell” pairs before disconnecting. The cell form will show the not-connected hint again, and the “Open locker” button will disappear for employees.