
Desk pods: creating, editing and ungrouping
A desk pod is a group of desks that lives on the map as a single object: it can be moved, scaled and edited as a whole, and employees see its name when booking. This article covers the full cycle — creating, renaming, changing the contents and ungrouping.
What a pod is
A pod is not a standalone object in the tool panel but a way to group desks that are already placed. There is no separate “Pod” tool in the editor: a pod appears only by grouping selected desks.
Where to open the editor
“Manage → Office management → Workspaces” → click Change map next to the workspace. The Drafts page opens: choose Edit on the published version, or create a draft and open it. Working with pods requires the Seating mode; in Settings a pod can be selected, renamed and bulk-edited, but not created or ungrouped.
The editor is available to the Super Administrator, the Office manager and the Offices Administrator. Changes accumulate locally and are applied by Save (in a draft) or Publish changes (in the published version). If you leave the page earlier, the question “You have unsaved changes. Do you want to discard changes and leave?” appears.
How to create a pod
- select the desks that should go into the pod: draw a frame around them or click the desks holding Shift;
- in the control panel that appears, press the round “+” button — it groups the selected objects. The same is done by ctrl + G (cmd + G on macOS), listed among the hotkeys as “Create pod”;
- the pod is created at once, with no dialog, and gets the service name Pod name — rename it right away;
- save the changes.
When the published map is saved, UnSpot asks “Notification to users” — “Yes, notify” or “No”. When a draft is published this question is not asked and no emails are sent.
How to rename a pod
Double-click an empty spot inside the pod (not on a desk) — the name becomes editable right on the map. Ctrl + E does the same. Type the name and press Enter.
- the name is 1 to 60 characters long; an empty value is not saved and the field returns the previous name;
- pod names are not checked for uniqueness — two pods can have the same name, so give them meaningful ones;
- the pod label can be dragged to a convenient spot, and employees see it on the office map.
What can and cannot be grouped
| Rule | Details |
|---|---|
| What can be grouped | Desks only. Meeting rooms, parking spaces, lockers and points of interest do not go into a pod; if they end up in the selection together with two or more free desks, the “+” button still appears — the pod is built from the desks alone and the other objects are left as they were |
| How many desks are needed | At least two free desks; or one existing pod plus at least one desk, in which case the desks are added to it |
| Nested pods | Not supported: a pod cannot be put inside another pod |
| Overlapping pods | Not checked — mind the geometry yourself |
| A separate “Pod” tool | Does not exist: a pod appears only by grouping |
Selecting a pod and its controls
A single click on a pod selects it as a whole — an individual desk inside a pod cannot be picked that way. A vertical panel of round buttons appears next to the selection, and what it contains depends on what is selected.
| What is selected | The buttons in the panel |
|---|---|
| A pod | ungroup (“−”), bulk editing of the desks of the pod (pencil), duplicate the pod together with its desks |
| One desk | edit (pencil), duplicate, delete (bin) |
| Several free desks | group into a pod (“+”), bulk editing, duplicate, delete |
A pod has no delete button: a pod cannot be deleted as an object — it is ungrouped, and the desks are then deleted one by one. The “+” button appears only when the selection can be grouped: at least two free desks, or one pod and at least one free desk.
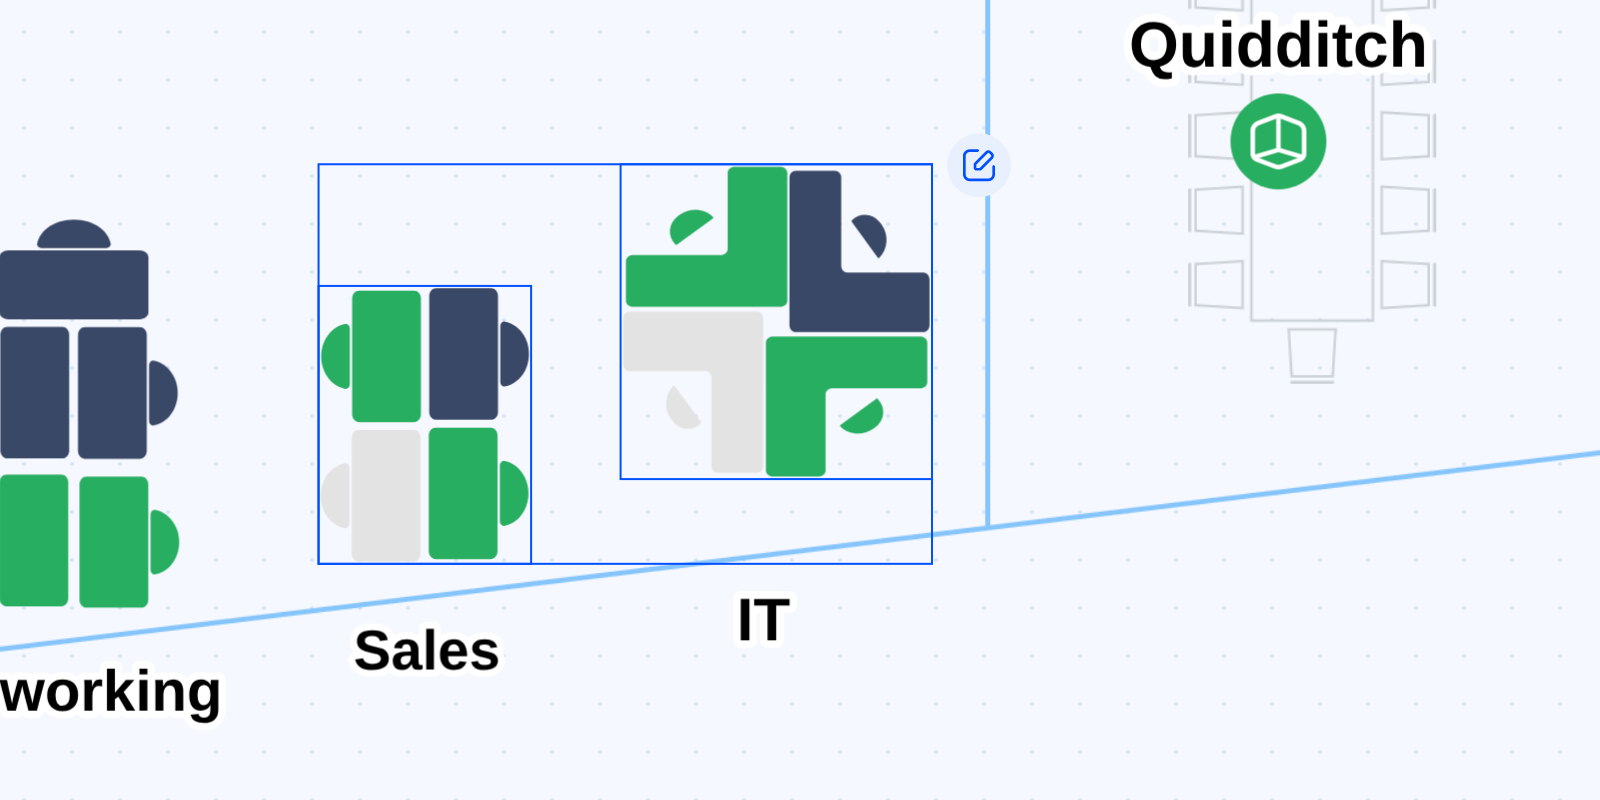
Bulk editing the desks of a pod
The pencil opens the form titled “{desksCount} desks selected”. Every property in it is switched off by default and is applied to the desks only if you switch it on — so you can change, for example, the amenities alone, leaving everything else untouched. Assigning places to a specific employee in bulk is not possible — that is done in the card of an individual desk. The full list of the form’s switches and how it differs for parking spaces is in “Map editor: configuring placed objects”.
Pod contents and geometry
- to add desks to a pod, select the pod together with the desks you need and press “+” (ctrl + G). If the selection holds several pods, the desks go into the first of them;
- there is no separate command to take one desk out of a pod: either ungroup the pod and rebuild it, or delete the desk;
- a pod is moved, scaled and rotated as a whole; the desk labels scale with it;
- duplicating a pod creates a copy together with its desks, offset from the original; the names get the next number.
Ungrouping
- click the pod — it is selected as a whole;
- press the “−” button in the control panel, or the Delete (Backspace) key;
- confirm the action: “Do you really want to ungroup the selected zone?” → “Yes, ungroup”. For several selected pods the text is in the plural;
- save the changes — until then the ungrouping lives only in the browser.
What happens to the desks and bookings
| Object | What happens to it |
|---|---|
| The desks of the pod | They stay on the map in their places and keep their names, settings and assignments. They only lose the link to the pod |
| Bookings | Not affected: ungrouping cancels neither current nor future bookings |
| The pod name | Deleted together with the pod. When booking, such desks appear in the general list outside pods |
Details worth knowing
- Delete on a pod means ungrouping, not deletion. To delete the desks themselves, ungroup the pod first, then select the desks and delete them — the confirmation will read “Are you sure you want to remove selected Desks?”;
- if the selection holds both pods and other objects, UnSpot shows the general question “Are you sure you want to remove this objects?”: the pods are ungrouped and the other objects removed;
- ungrouping can be undone by leaving the editor without saving.
Related articles
- Desks on the map — adding, configuring and deleting desks;
- Map editor: placing objects — grouping, hotkeys and geometry;
- Map editor: configuring placed objects — bulk editing;
- Seating drafts: overview — rebuilding pods without showing the edits to employees;
- The floor plan: upload, replace and delete the map — the map background.
- Office map editor: an overview of the actions — all the actions with the map.