
Connect Microsoft Exchange via a service account
The service account connection is a new way to integrate UnSpot with Microsoft Exchange: you connect a single service account with impersonation rights once, and that one connection serves all meeting room resource calendars. There is no need to delegate permissions for every calendar or re-authorize users. The classic delegation-based scheme keeps working — see Prepare Exchange calendar to work with UnSpot.
How it works
UnSpot connects to the Exchange server over EWS (Exchange Web Services) under the service account and manages meeting room calendars through impersonation: every calendar call is performed on behalf of the room’s resource mailbox. That is why permissions do not have to be delegated per calendar — granting the service account the ApplicationImpersonation role once is enough.
- Server authentication is domain-based (NTLM) by default; the “Use Basic Authentication (Basic Auth)” toggle switches the connection to basic authentication if your server only accepts that.
- “Do not validate SSL certificate” disables server certificate validation — enable it only for self-signed certificates; the connection still uses HTTPS.
- When you save a connection, UnSpot verifies that the service account can sign in to the server and that impersonation works. Access to a specific room calendar is verified later — when you connect that calendar, UnSpot attempts to create a test event in it and immediately deletes it.
- After that the synchronisation is two-way: UnSpot bookings are created, updated and deleted in the room calendar, and events created directly in the calendar (for example, from Outlook) appear in UnSpot — changes arrive via an EWS push subscription that UnSpot sets up when the calendar is connected.
- You can have several connections — for example, for different Exchange servers. The “server + username” and “server + email” pairs must be unique: two connections with the same server and account cannot be created.
Requirements
- An Exchange service account allowed to impersonate the meeting room resource calendars (the ApplicationImpersonation role). When you save the connection, UnSpot verifies that it can sign in with this account.
- Supported versions: Exchange 2010, 2010 SP1, 2010 SP2, 2013, 2013 SP1, 2016.
- UnSpot permissions: the connection is set up by a Super Administrator. An Integrations Administrator can see the Synchronisations tab but cannot manage calendar connections.
Creating the service account in Exchange
The service account is created with the standard Exchange tools: in the ECP panel open Recipients → Mailboxes, click “+ User mailbox” and create a user (for example, app_impersonation).
Then grant the account impersonation rights: on the Exchange server, run the Exchange Management Shell and execute the command below, substituting the name of the account you created:
New-ManagementRoleAssignment `
  -Name "UnSpotAppImpersonation" `
  -Role "ApplicationImpersonation" `
-User "app_impersonation"Applying the role can take a while: if UnSpot reports a permission-check error when you save the connection, wait a few minutes and try again.
If needed, you can limit impersonation to the meeting room resource calendars only — create a scope and assign the role with it:
# remove the previous assignment (if the role was granted without a scope)
Remove-ManagementRoleAssignment `
  -Identity "UnSpotAppImpersonation" `
  -Confirm:$false

# a scope limited to room resource mailboxes
New-ManagementScope `
  -Name "UnSpotResourceMailboxes" `
  -RecipientRestrictionFilter {RecipientTypeDetails -eq "RoomMailbox"}

# assign the role with the scope
New-ManagementRoleAssignment `
  -Name "UnSpotAppImpersonation" `
  -Role ApplicationImpersonation `
  -User "app_impersonation" `
-CustomRecipientWriteScope "UnSpotResourceMailboxes"Creating a connection
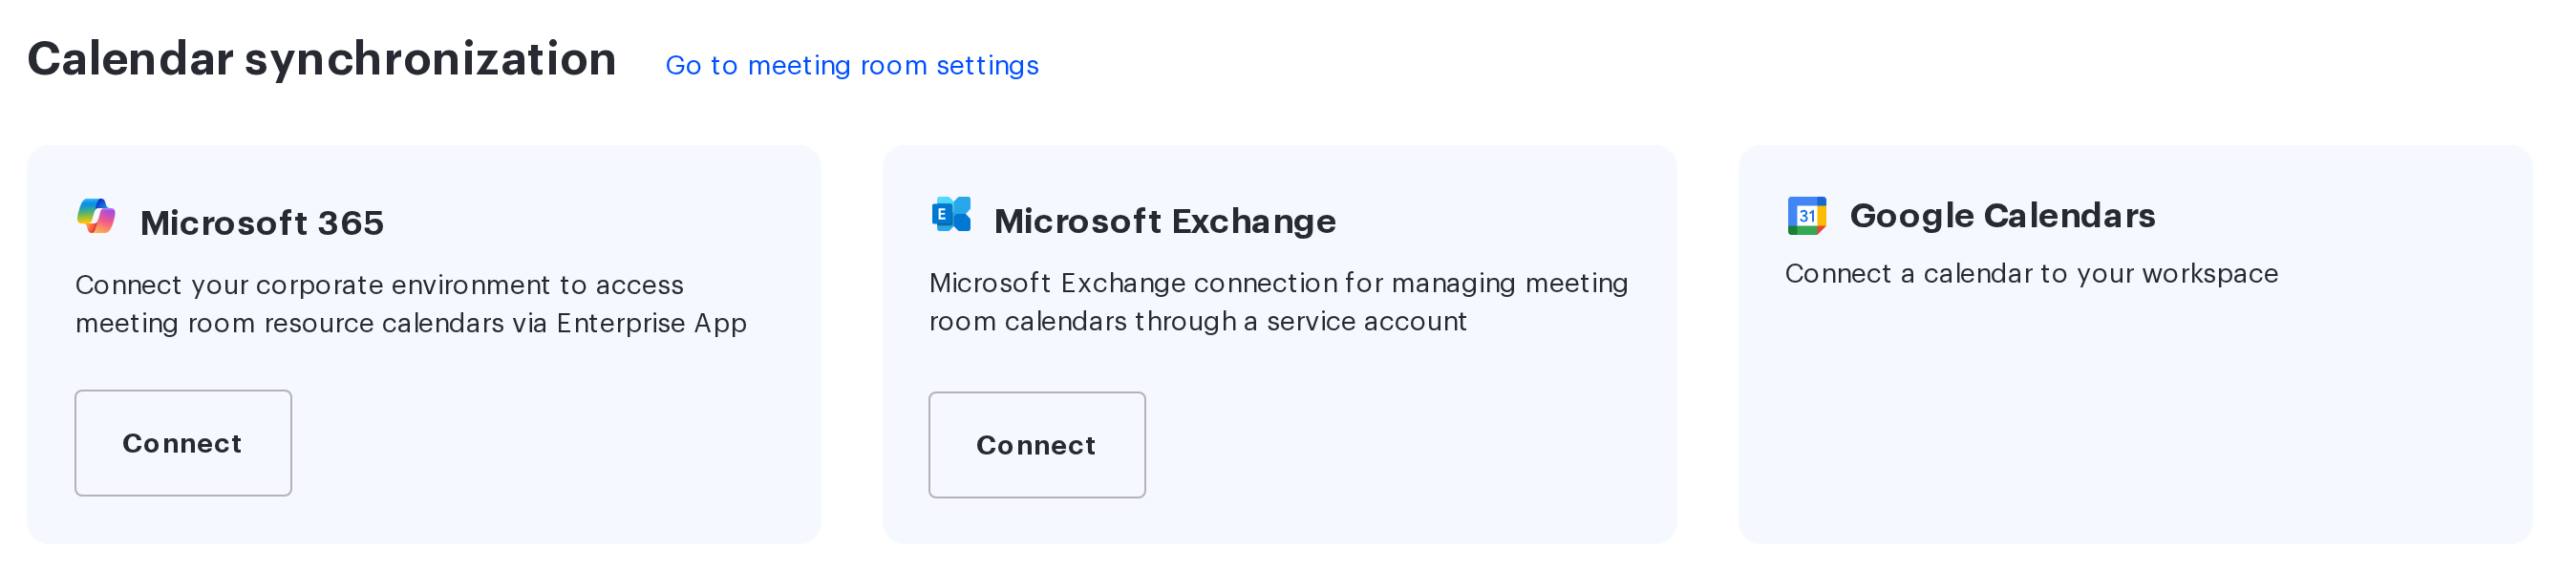
Go to Manage → Integrations → Synchronisations, find the Microsoft Exchange card in the Calendar synchronization section and click Connect. Fill in the form — all fields are required, up to 255 characters each:
| Field | What to enter |
|---|---|
| Host | The Exchange server address without a scheme (no https://). |
| Username | The service account username. |
| Password | The service account password. After saving, the password is masked and never displayed again. |
| The service account email. | |
| Connection name | Any name — shown on the connection card. |
| Exchange version | Pick from the list: 2010, 2010 SP1, 2010 SP2, 2013, 2013 SP1, 2016. |
| Do not validate SSL certificate | Toggle, off by default — the certificate is verified. Enable it only for servers with self-signed certificates. |
| Use Basic Authentication (Basic Auth) | Toggle, off by default. Enable it if your server uses basic authentication. |
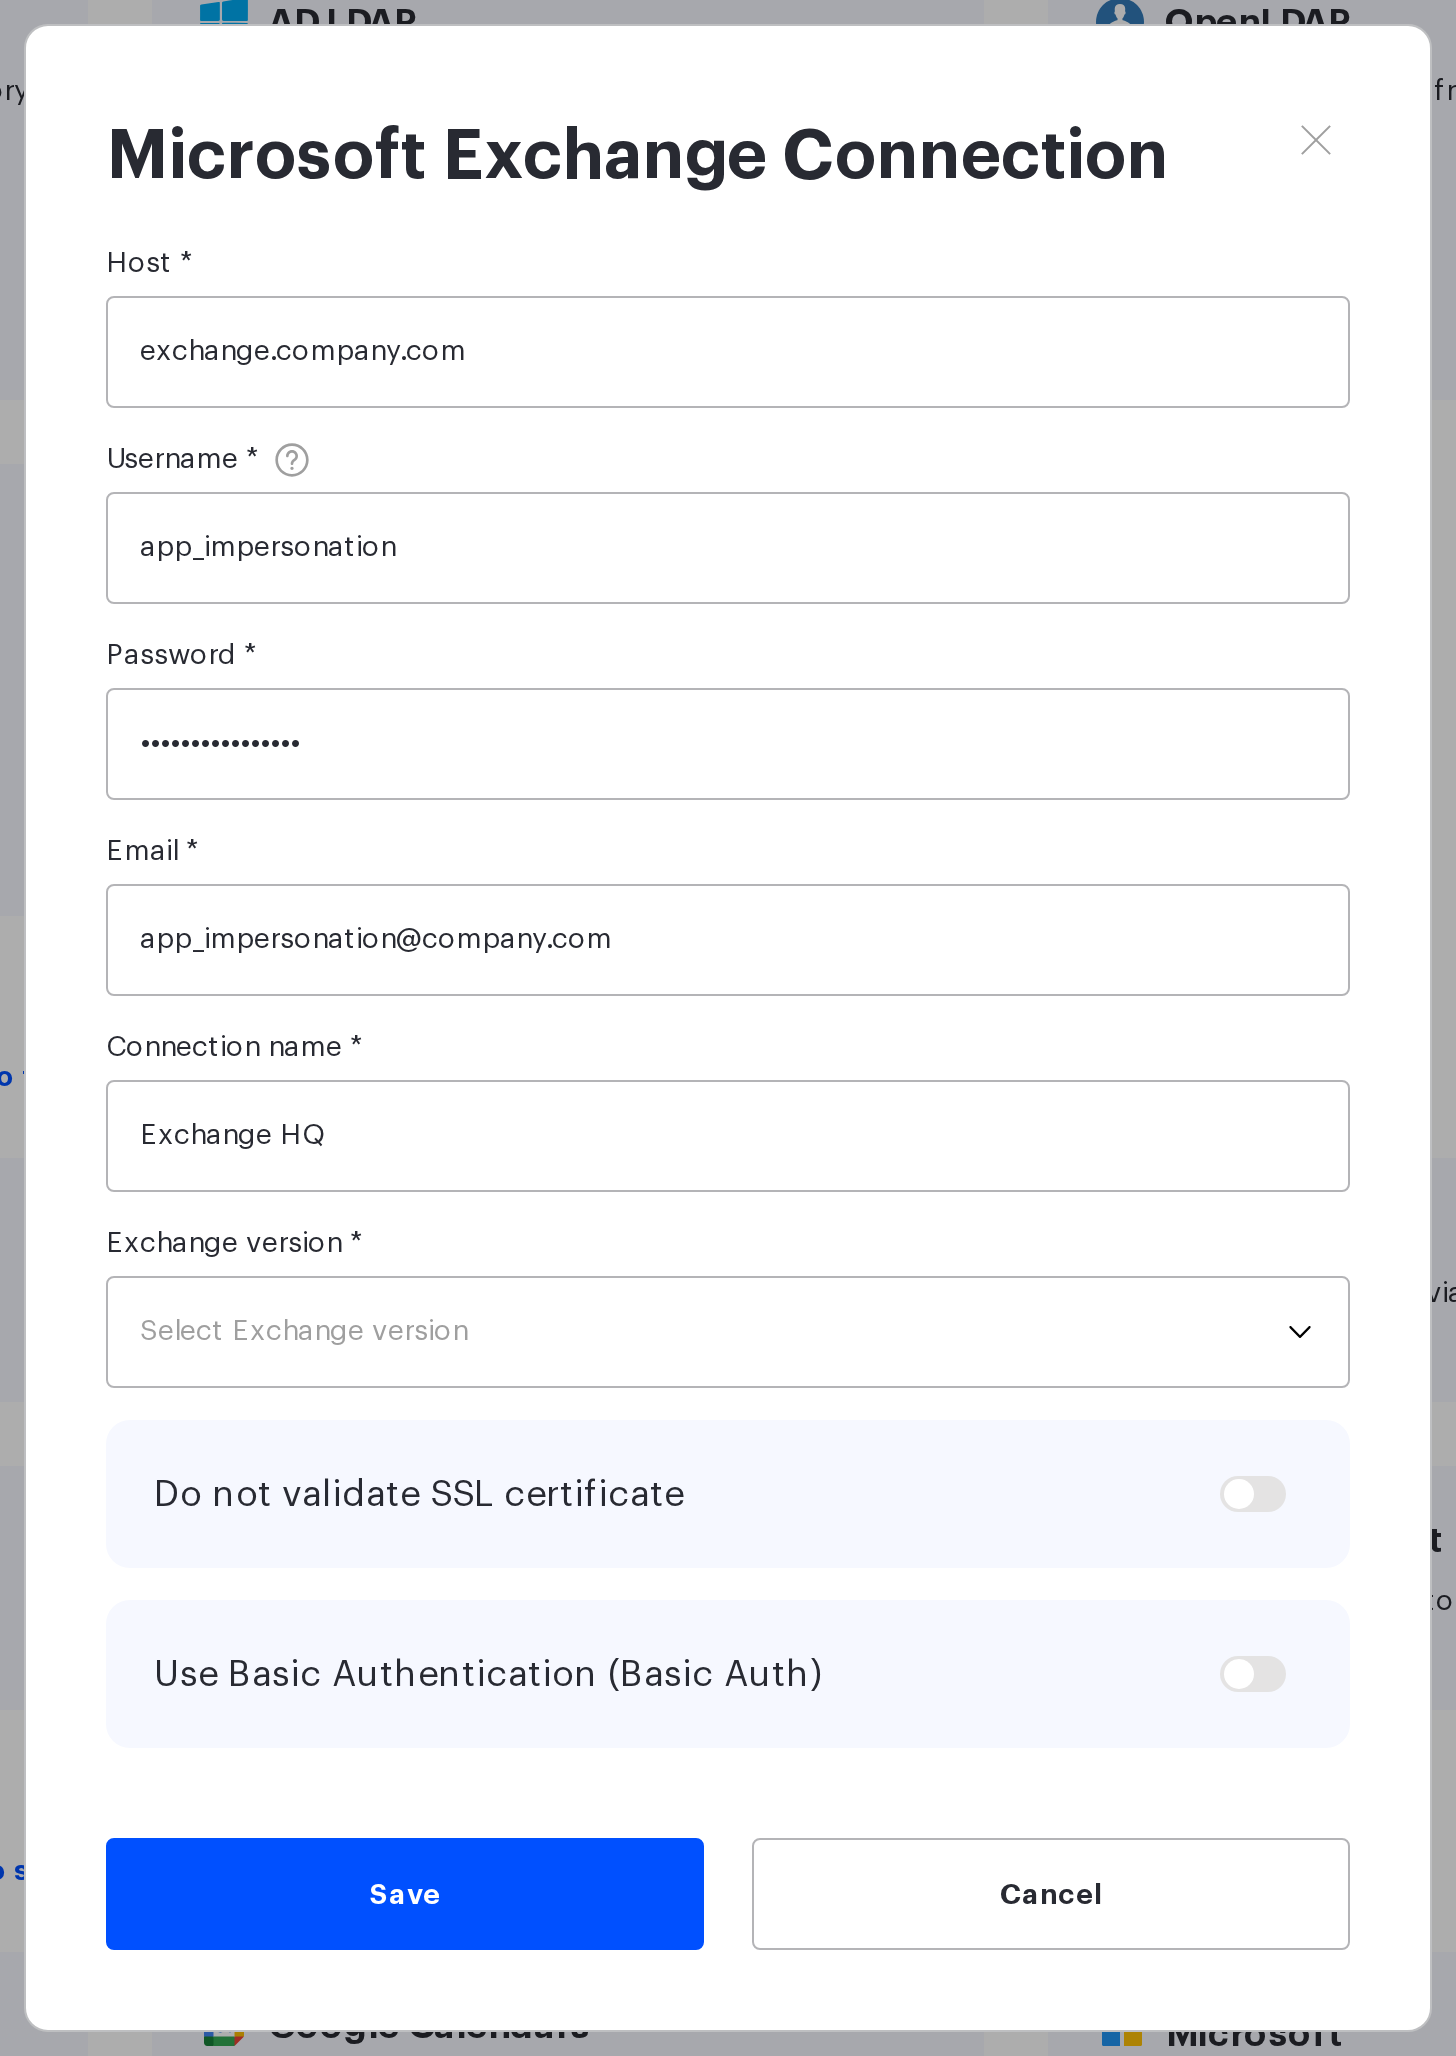
When you click Save, UnSpot tries to sign in with the service account. On success the connection appears in the card list. If authorization fails, the form window stays open and a separate dialog shows the error description and the original Exchange response.
Managing connections
- You can have several connections — each is shown as a separate card, and there is always a card with a Connect button to add another one.
- Edit — change any field of the connection; the password is masked in the form. Saving re-checks the authorization. If nothing was changed, the button simply closes the window.
- Disconnect — deletes the connection after a confirmation dialog. Meeting room calendars linked to this connection are disconnected together with it.
- If a connection stops working (for example, the account password changed), its card is marked as invalid — update the details via Edit.
Connecting a room calendar
A meeting room calendar is connected by entering the email of its resource calendar — no user authorization is required:
- Open the meeting room card and go to the calendar connection.
- Choose the Microsoft Exchange (service account) connection.
- Enter the email of the room’s resource calendar (for example, room@company.com) and confirm.
During the connection UnSpot attempts to create a test event in the calendar and immediately deletes it. If the connection fails, UnSpot shows the error description and the Exchange response. Rooms with a connected calendar show an Exchange icon on the spaces page. The calendar is disconnected the same way as for other providers — from the meeting room card.
Note: Exchange does not provide a ready-made list of resource calendars, so the calendar email has to be entered manually. If you don’t know the resource calendar email of a room, ask your Exchange administrator.
Limitation: incoming synchronisation has to be restarted manually
To receive meetings created on the provider side, UnSpot subscribes to calendar changes. For calendars connected through a service account the subscription is currently not renewed: the event stream holds while the Exchange server keeps answering the service requests, but it does not recover on its own after any interruption.
What it looks like: bookings created in UnSpot keep appearing in the calendar, while meetings created in Outlook stop reaching UnSpot.
What to do until the fix ships:
- to pull in the missed meetings once — open the meeting room calendar window and click Start Sync. The button is available to a Super Administrator and no more than once an hour: the Available at caption next to it shows when the next attempt is possible;
- to restore the continuous event stream — reconnect the calendar to the meeting room.
The limitation has been reported to the development team. This section will be removed from the article once it is fixed.
Connection errors
| Message | What it means and what to do |
|---|---|
| Enter a valid host. The field must contain a domain name only. | The Host field accepts a domain or an IP address only, without the https:// scheme or paths. |
| A connection with this server and username already exists | The “server + username” pair must be unique. Edit the existing connection instead of creating a new one. |
| A connection with this server and email already exists | The “server + email” pair must be unique — just like the “server + username” pair. |
| Invalid credentials. | The server rejected the username or password. Check the service account details and the authentication method — you may need to switch the “Use Basic Authentication (Basic Auth)” toggle. |
| Insufficient permissions for service account or application. | The service account lacks the ApplicationImpersonation role, or the role assignment has not propagated yet — wait a few minutes and retry. |
| External calendar provider error. | A general error while calling the server. UnSpot shows the original Exchange response in the error dialog — check the server address, the Exchange version and EWS availability. |
| This calendar is already connected. | A resource calendar with this email is already linked to another meeting room. |
| Room already has a connected calendar | A meeting room can have only one calendar — disconnect the current one first. |
| Calendar not found. | No mailbox with this email exists on the server — check the room’s resource calendar email. |