Connect SSO (OAuth 2.0) via Keycloak
In the article:
1. Customizing Keycloak
2. Configuring Single Sign-On (SSO)
Keycloak is a tool for user authentication. It implements single sign-on technology that allows you to move from one system to another without re-authenticating. You can learn more about how Keycloak works here.
1. Customizing Keycloak
- Creating Realm:
Realm is a workspace that contains a collection of all the data required for authentication (company, users, passwords).
In the side menu, select Create Realm > in Realm name enter a name > Create - Creating Clients:
▪️ Go to Clients > enter Client ID > Next
▪️ Enable Client authentication > Leave only the Standard flow checkbox unchecked > Save
▪️ In Valid redirect URLs enter https://auth.unspot.com/api/oauth2/verify
▪️ In Login settings, select keycloak in Login theme > Save - Creating Users:
▪️ Go to Users > Create new user
▪️ Enter Username, Email, First name, Last name and click Create > Save.
▪️ On the Credentials tab, set a password for the user and remove the toggle switch for changing the password by the user at the first authorization.
Important: The email field must be filled in, in the future this will be the user's login for logging in.2. Configuring Single Sign-On (SSO)
To connect the integration:
1. Go to Manage > People Management > Access Policies on the UnSpot website
2. On the page, find Organization authorization providers and click Connect to OAuth 2.0
Note: Go to Keycloak to fill in the fields below. In the side menu, go to "Realm settings" and in the General tab open the "OpenID Endpoint Configuration" linkclientId– client ID- Go to Keycloak > Clients > select the company > in the General tab copy the Client ID
LoginUri– enter the link from the OpenID Endpoint Configuration- Example: https:// <your domain name> /realms/ <your realms name> /protocol/openid-connect/auth
JWKs type– authentication of access tokens- if you want to insert a link > select
Url, - if you want to insert keys manually > select
Keys
- if you want to insert a link > select
JWKs– depending on the selected JWK type, paste the link or copied keys from the OpenID Endpoint Configuration link.- Example: https:// <your domain name> /realms/ <your realms name> /protocol/openid-connect/certs
Name OAuth 2.0– will be displayed on the connect button when you log in to the applicationImage OAuth 2.0– will be displayed on the connect button when you login to the application. Image size limit: 64px*64px.Response type– Code. To integrate with Keycloak, select this response type. With the code Unspot will get first name, last name and mail information to create an account in the system.Client secret– Secret code for integration- Go to Keycloak > Clients > select a company > in the Credentials tab copy Client secret.
TokenURI– enter the link from OpenID Endpoint Configuration.- Example: https:// <your domain name> /realms/ <your realms name> /protocol/openid-connect/token
Scope– enter in the openid field
Click Save > OAuth 2.0 successfully connected.
To disable OAuth 2.0, click Disconnect
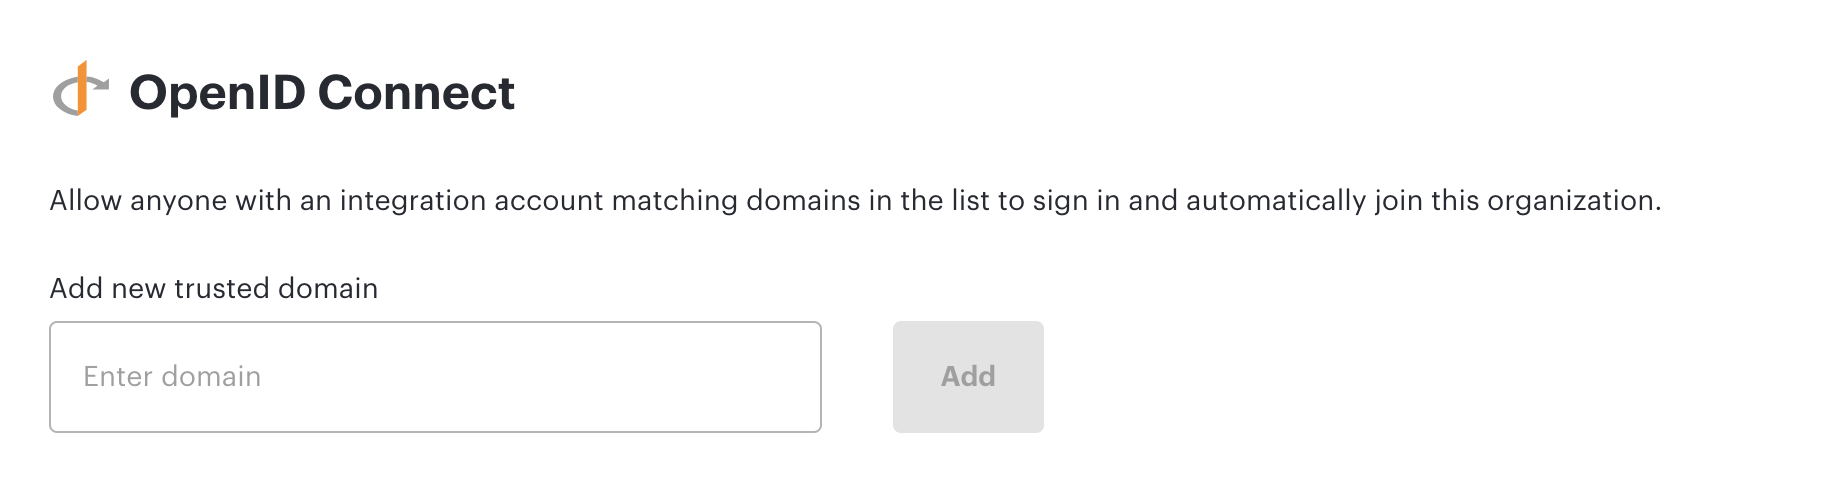
Important: To automatically log employees into UnSpot and import data from Keycloak, you must add the company's corporate domain in Manage > People Management > Access Policies > OpenID Connect