3 simple steps to start using UnSpot
Step 1. Add your Office
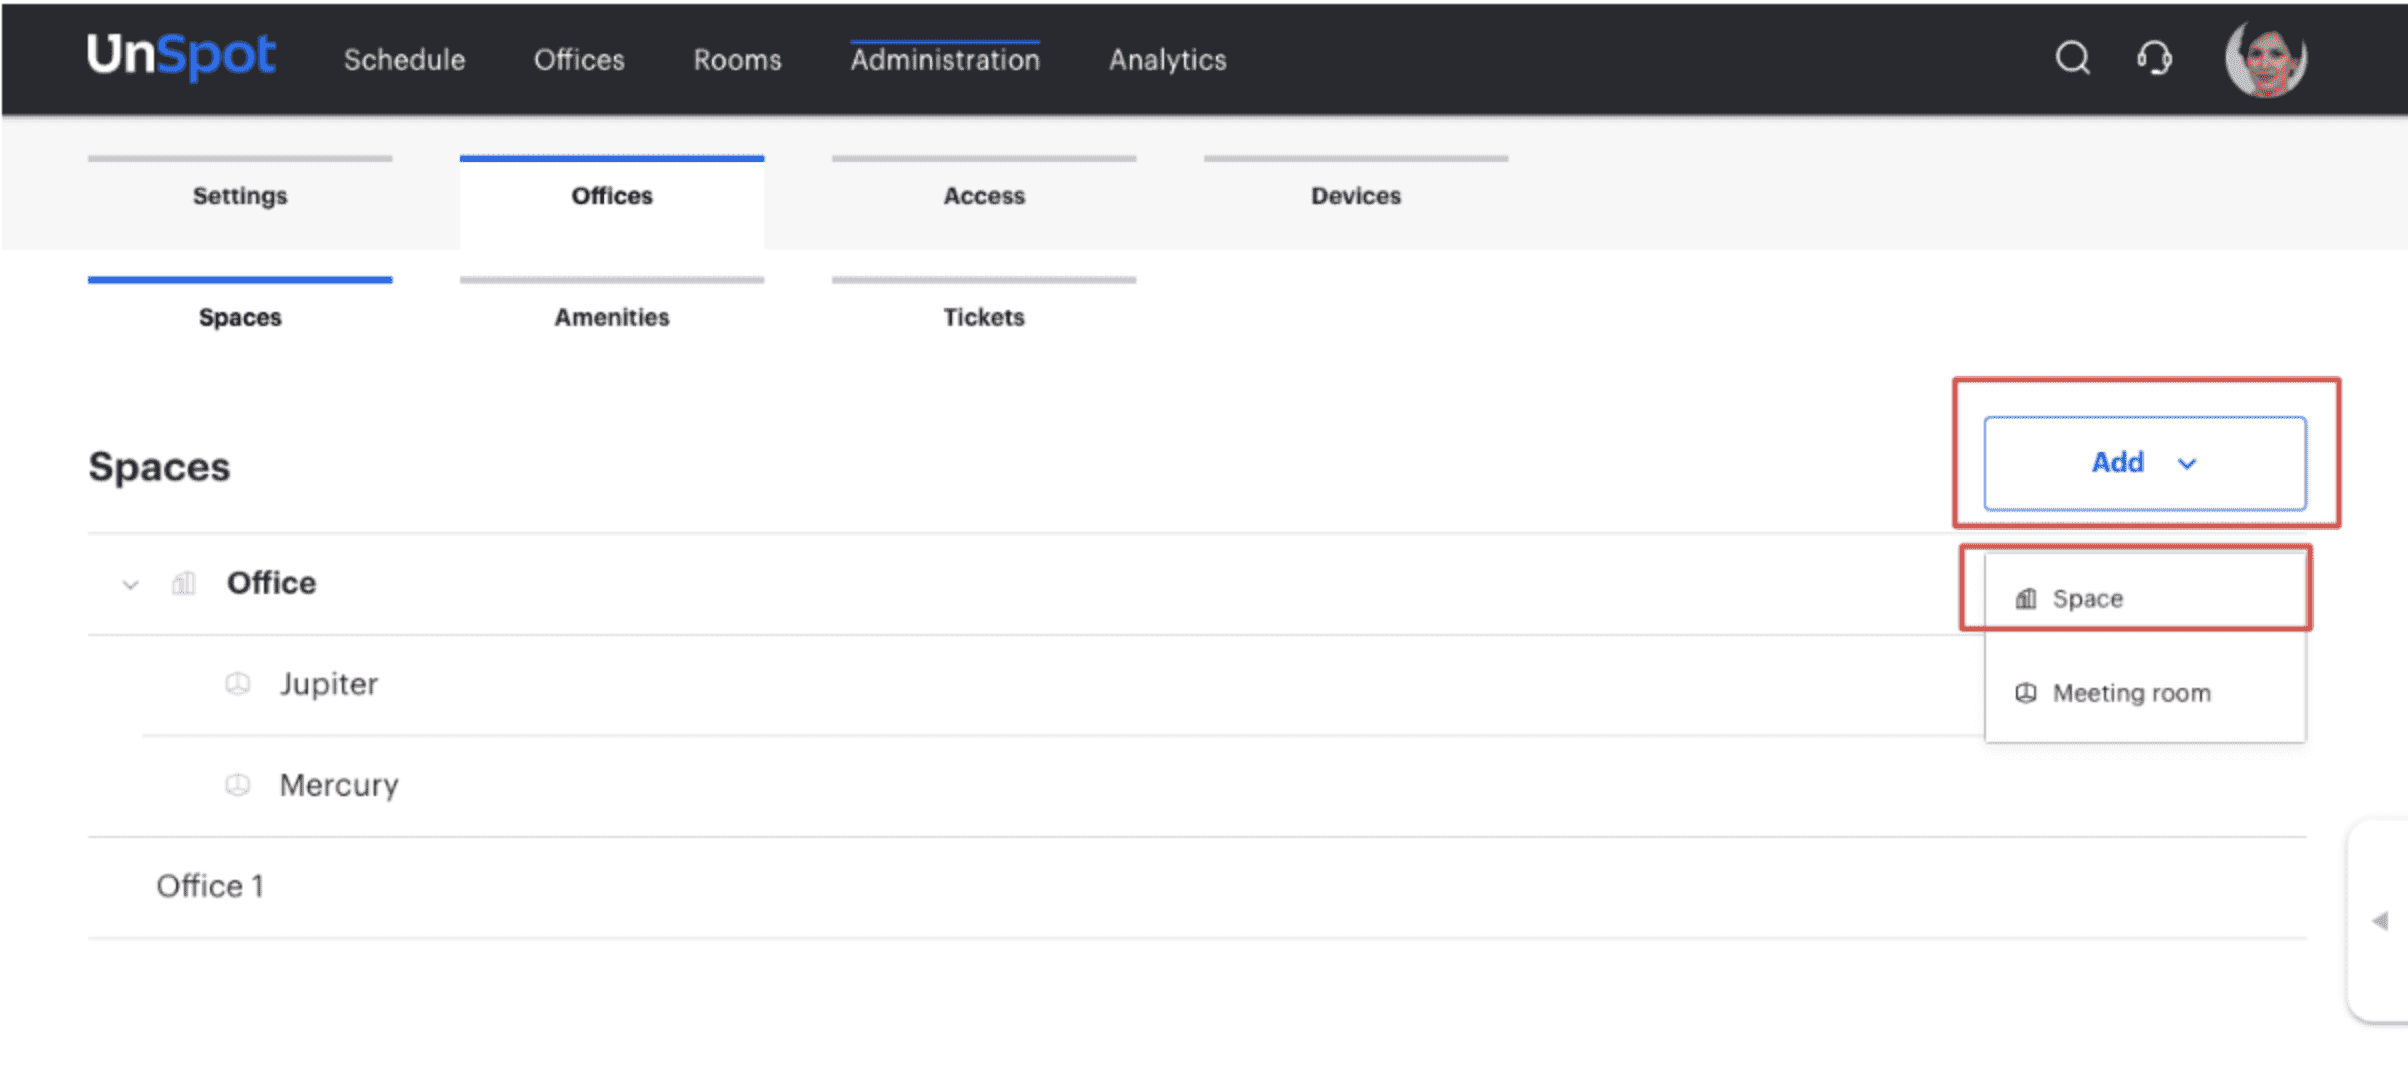
- Open the office administration page
- Click the “Add” button and select the “Space” option
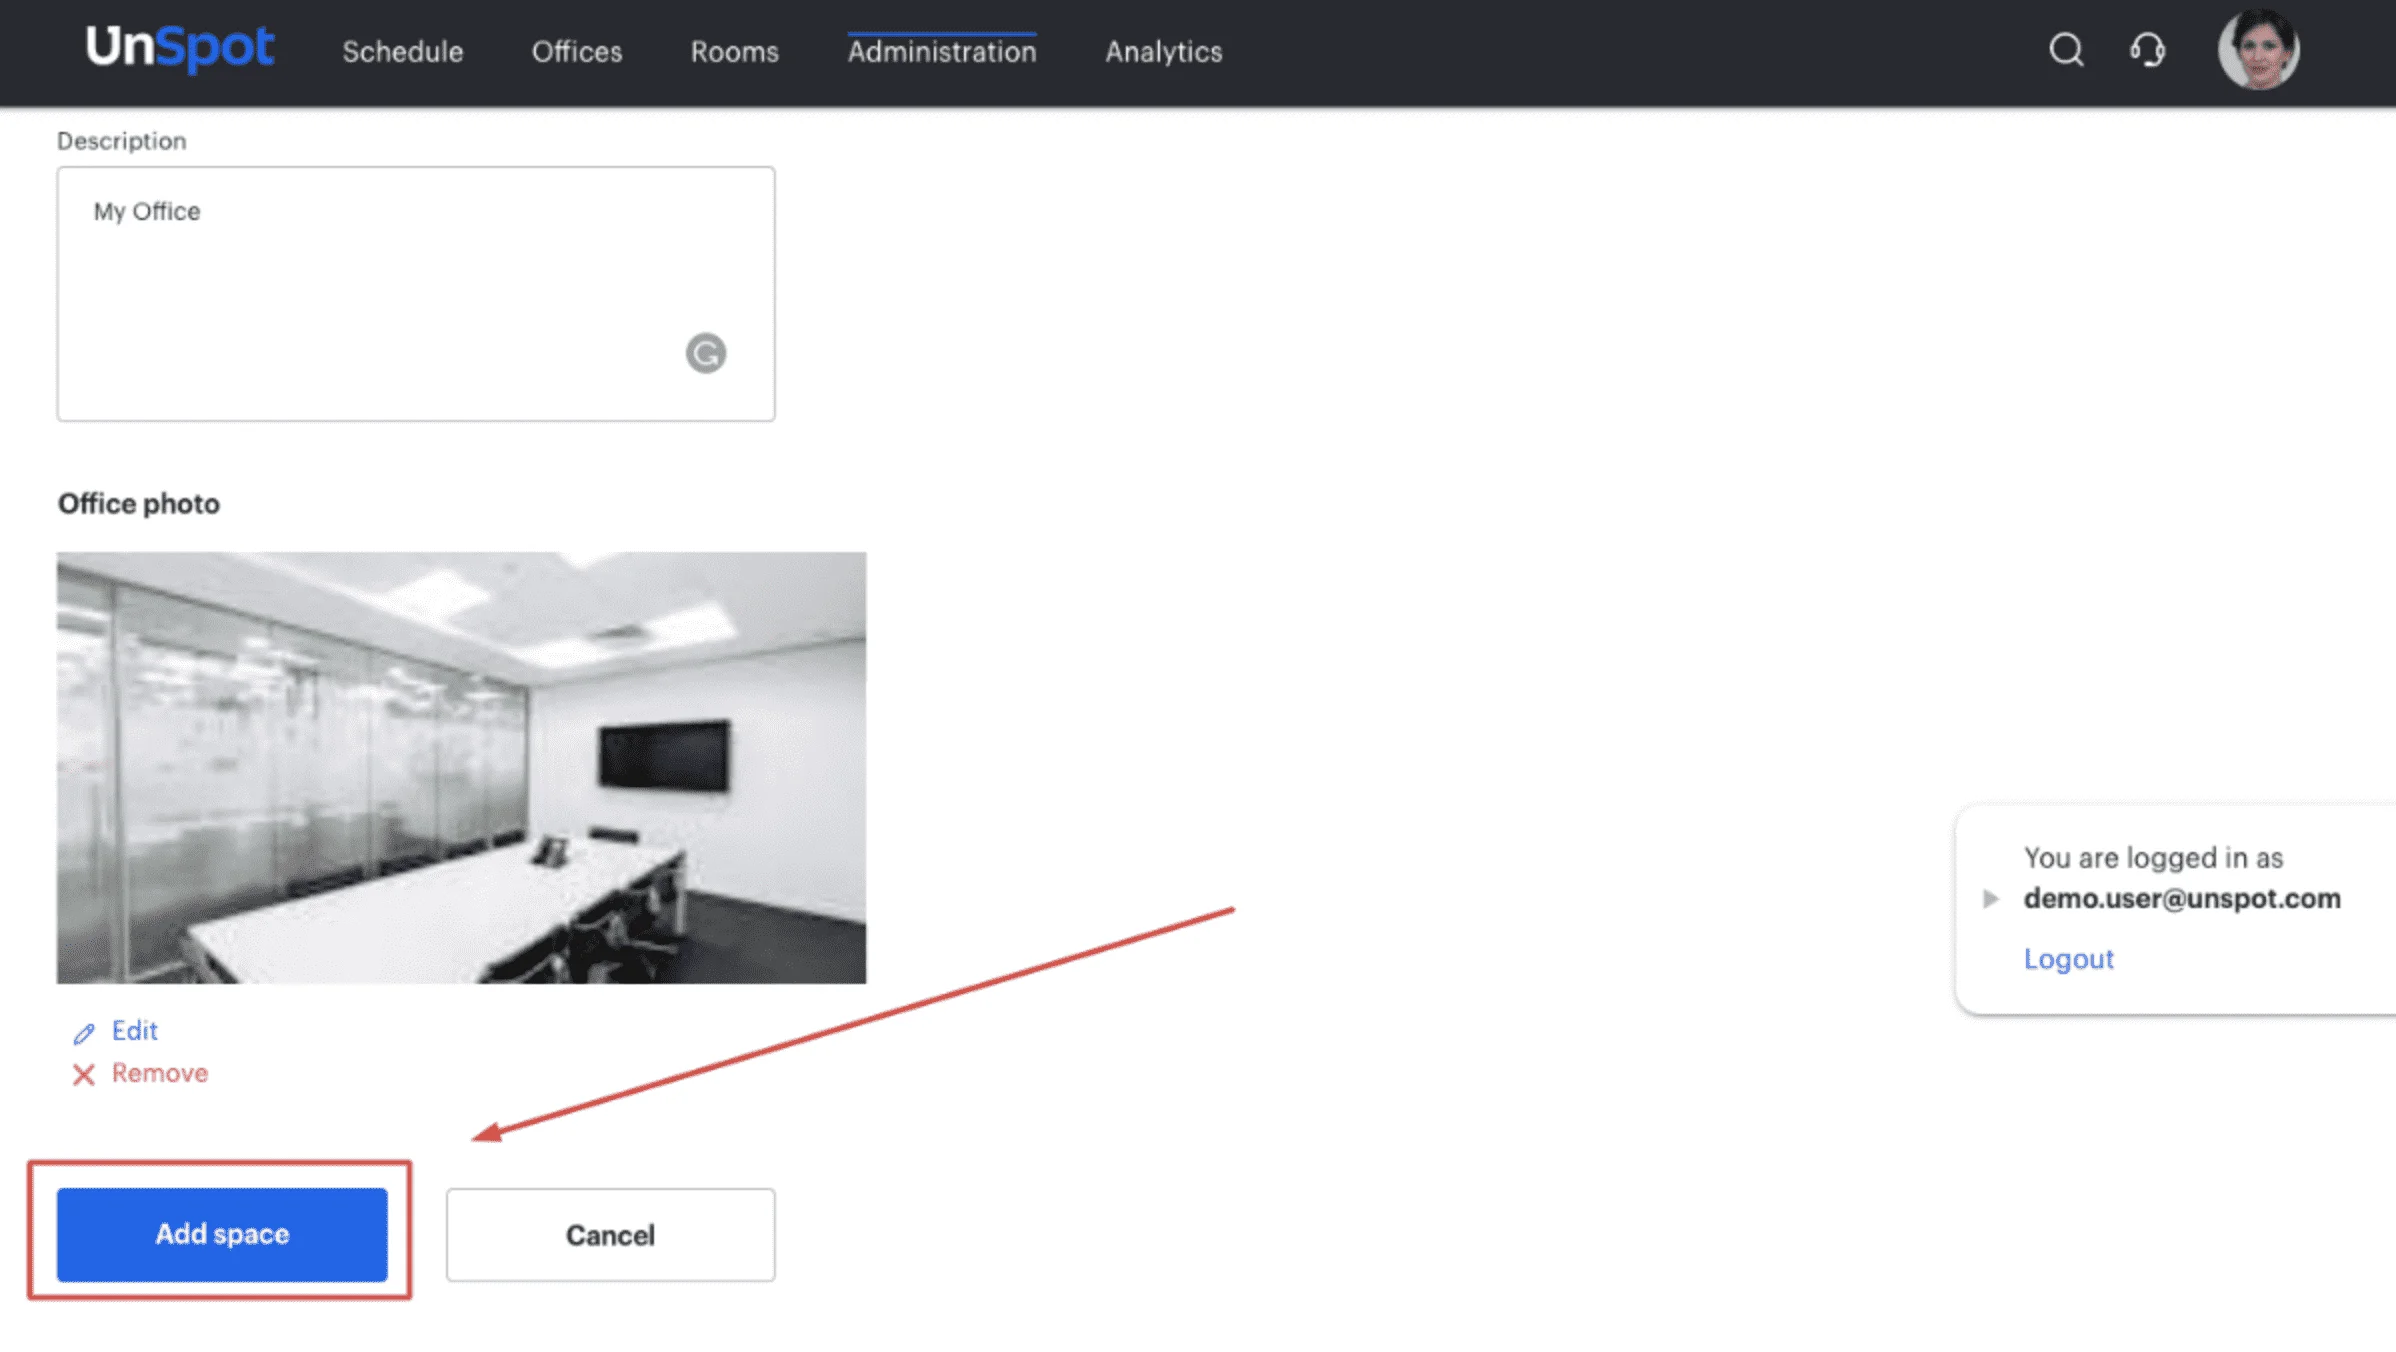
- Enter the name of the office. Optionally, you can add an address, description, photo, and time zone.
- Click “Add Space”
Step 2. Add an office map and add desks
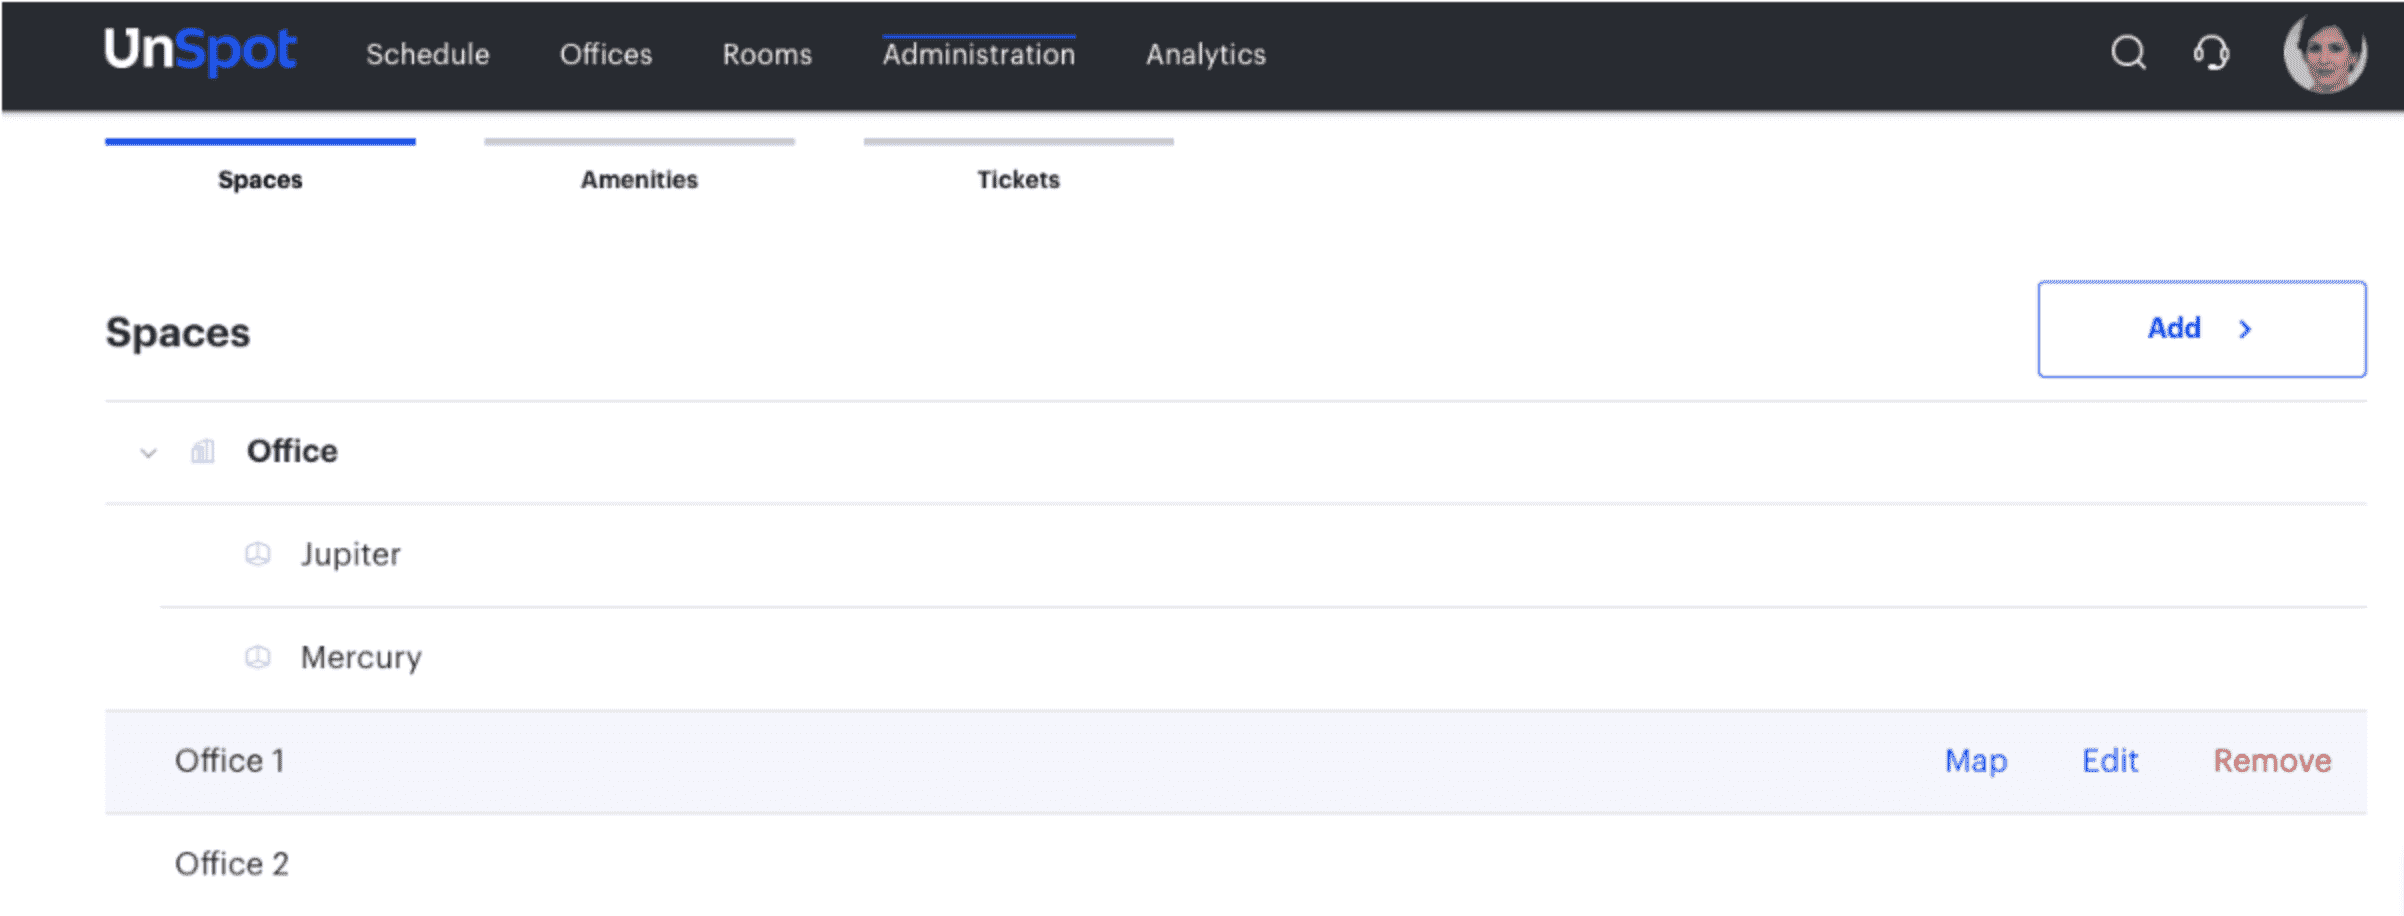
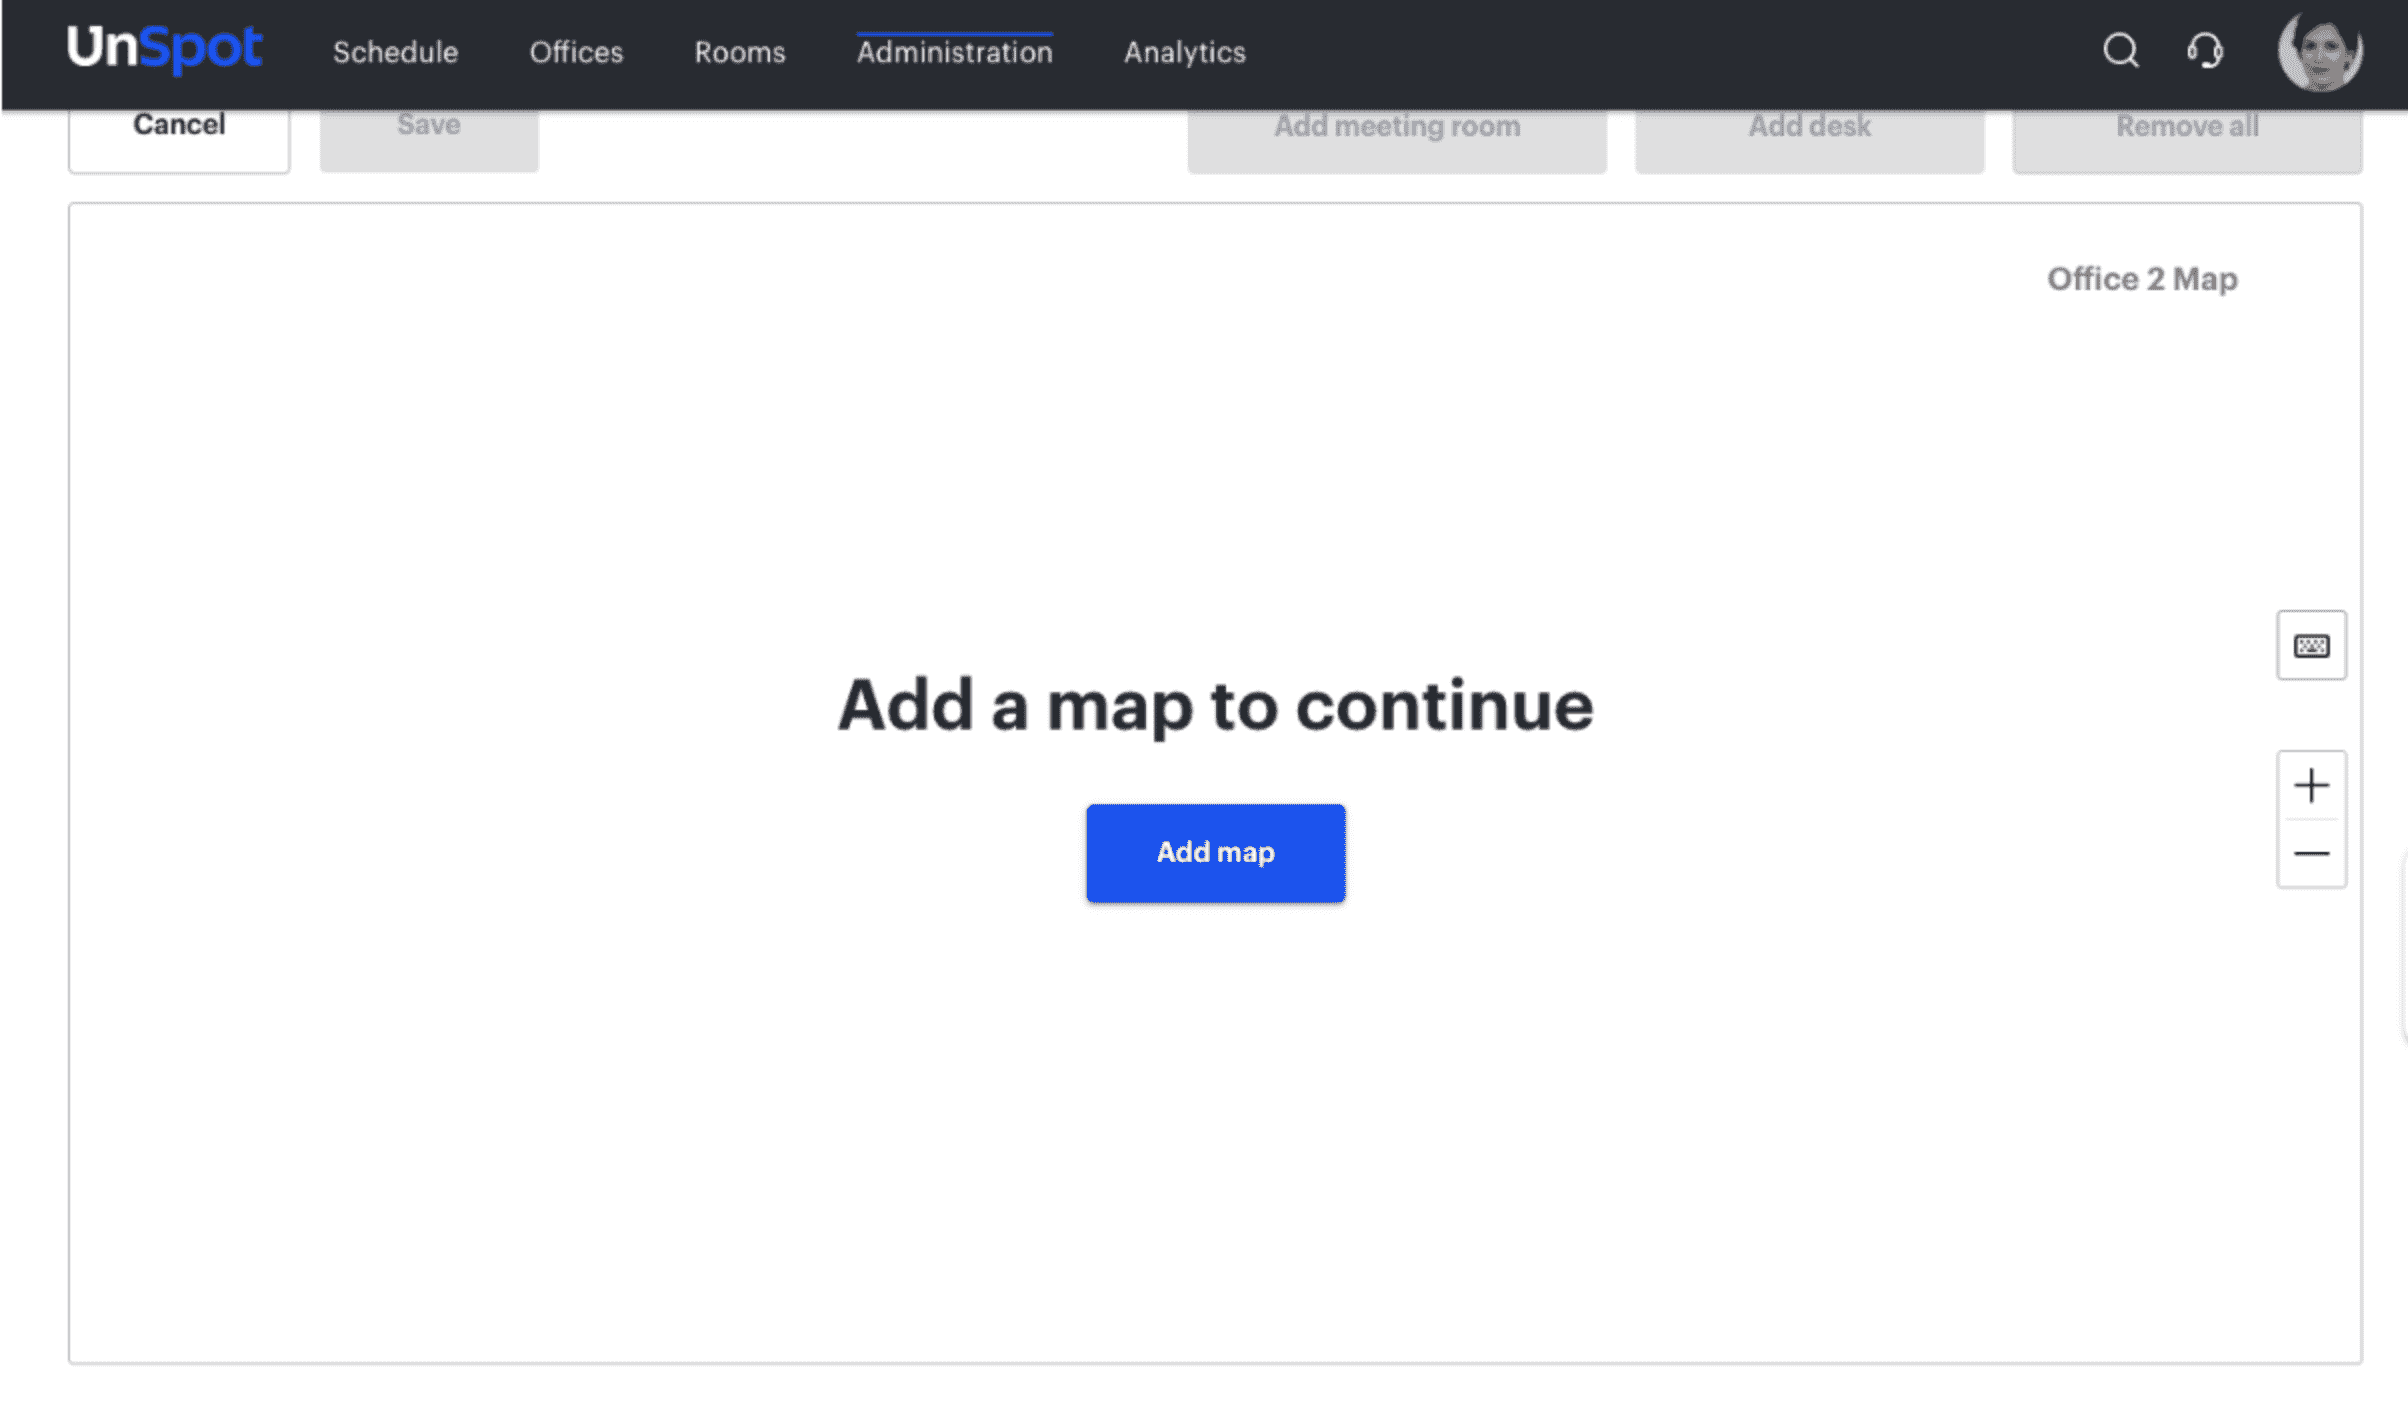
- Open the list of offices, hover over the office you need, and click on “Map
- Click on the “Add map” button and upload your office plan. If you do not have an office map, we will create one for you for free. To order a map, just book a short meeting with our manager.
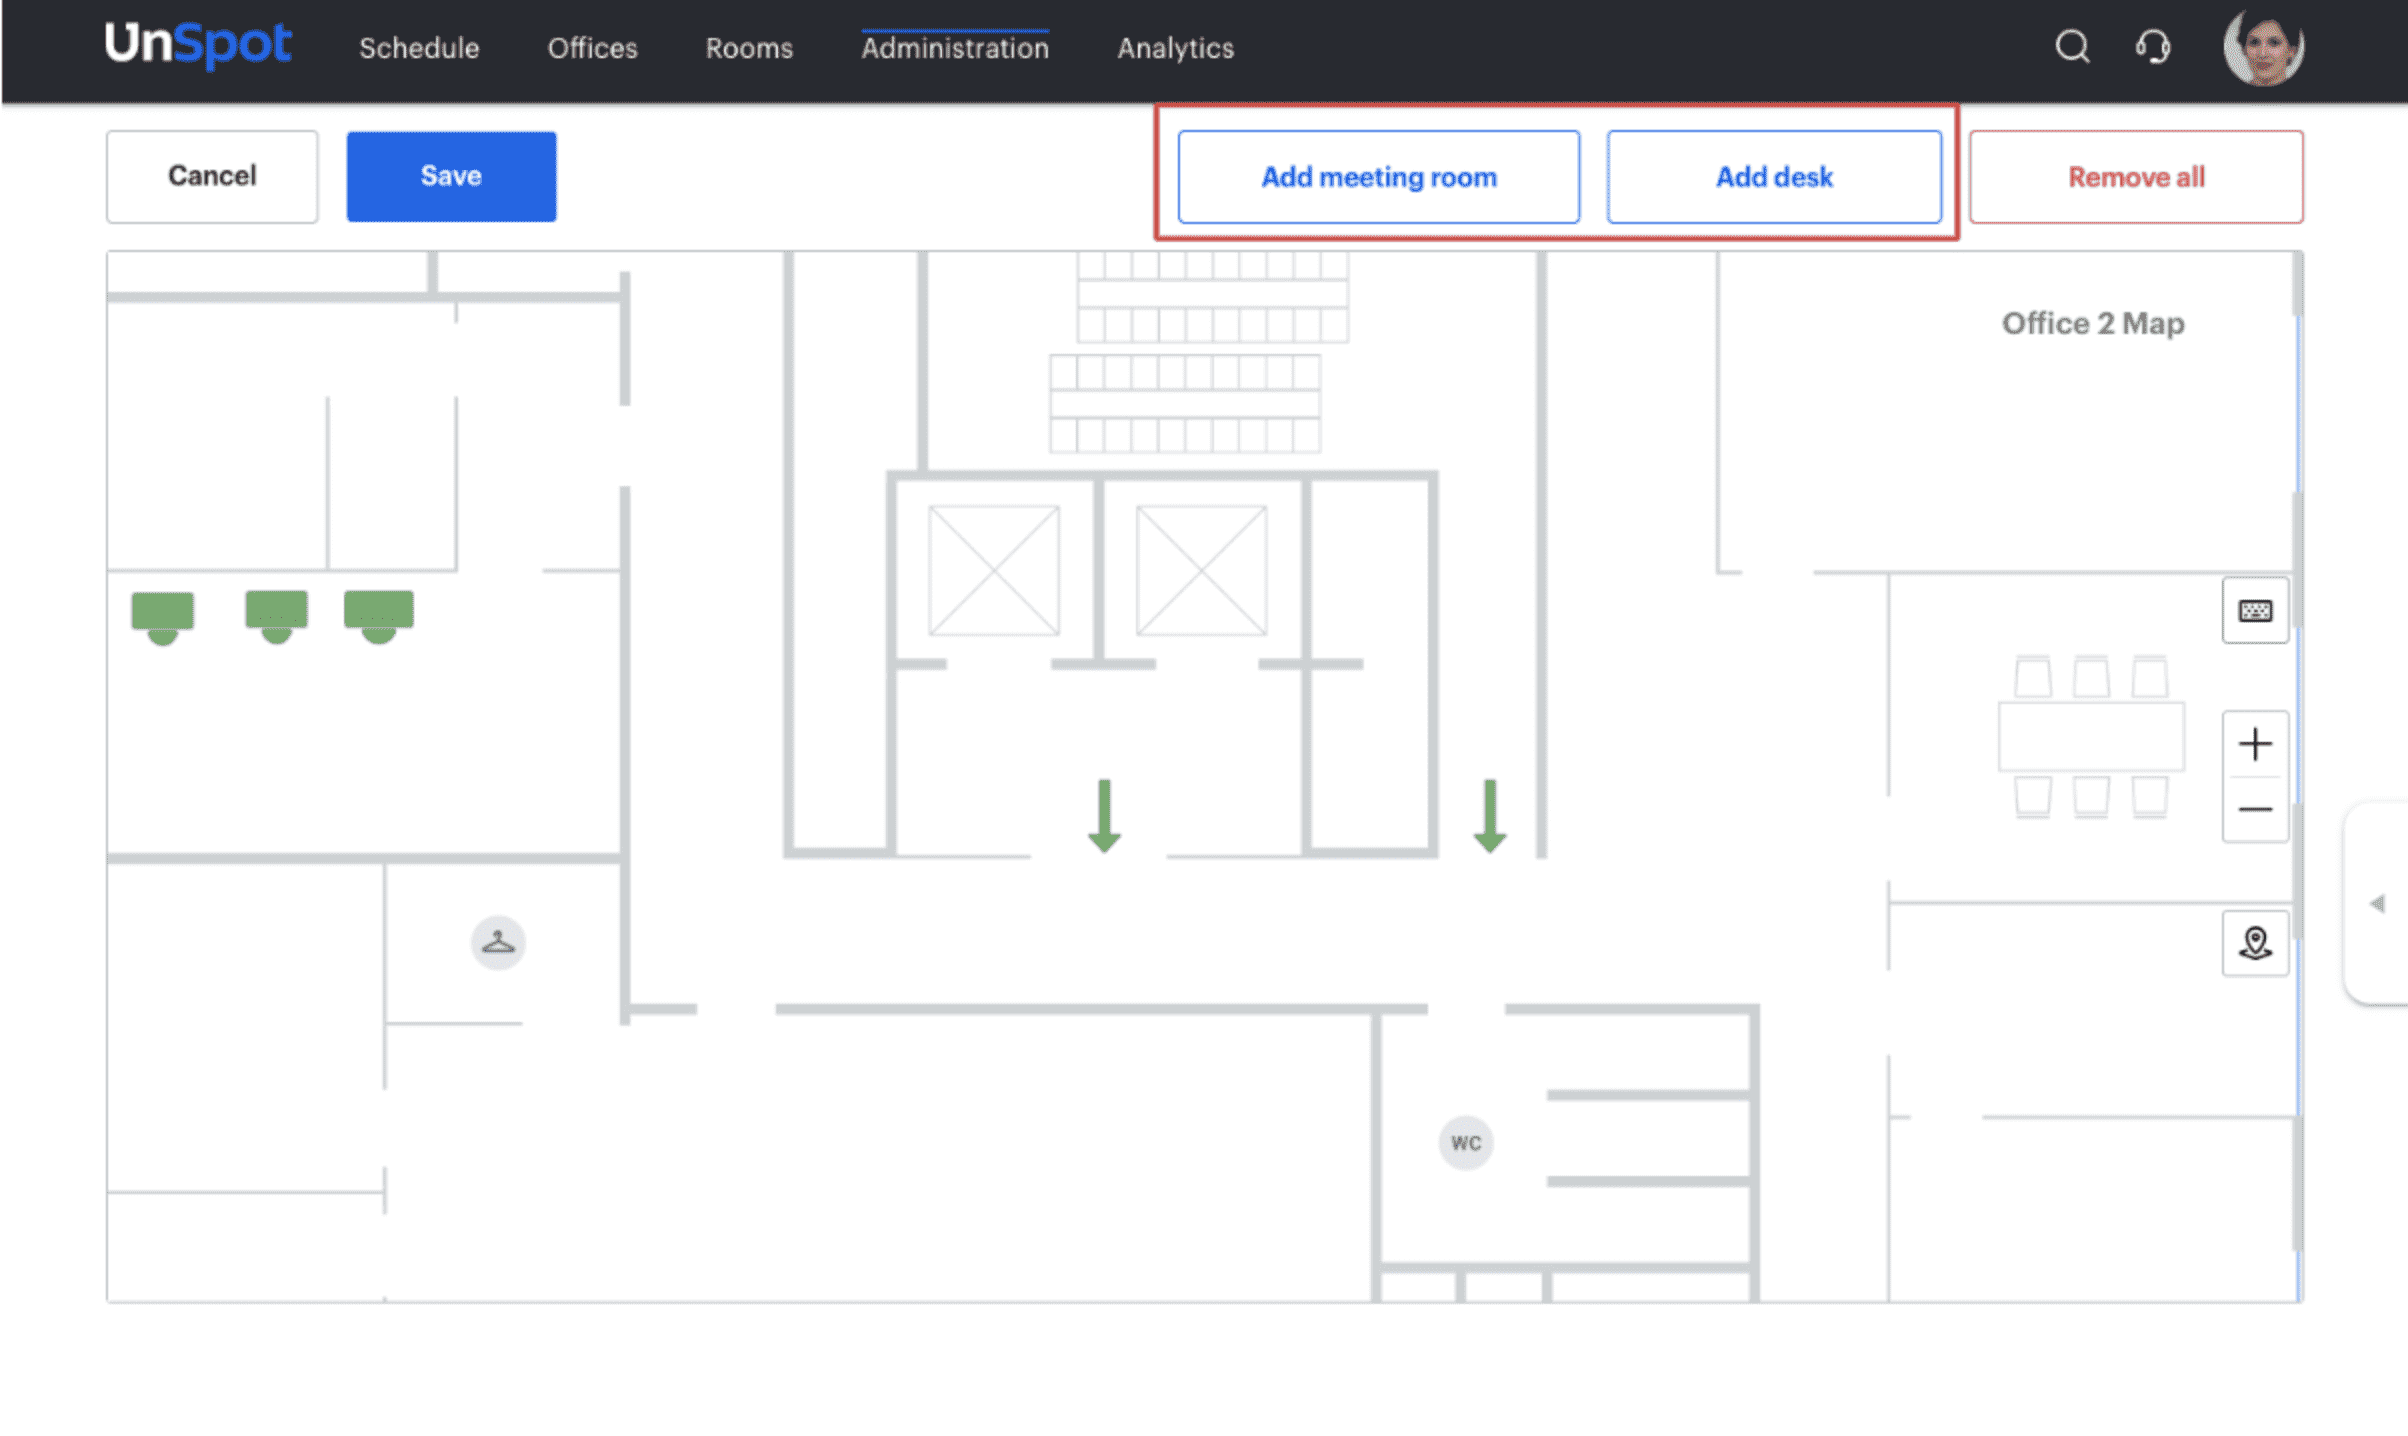
- Add your desks and meeting rooms on the map
Step 3. Add your employees and start booking desks
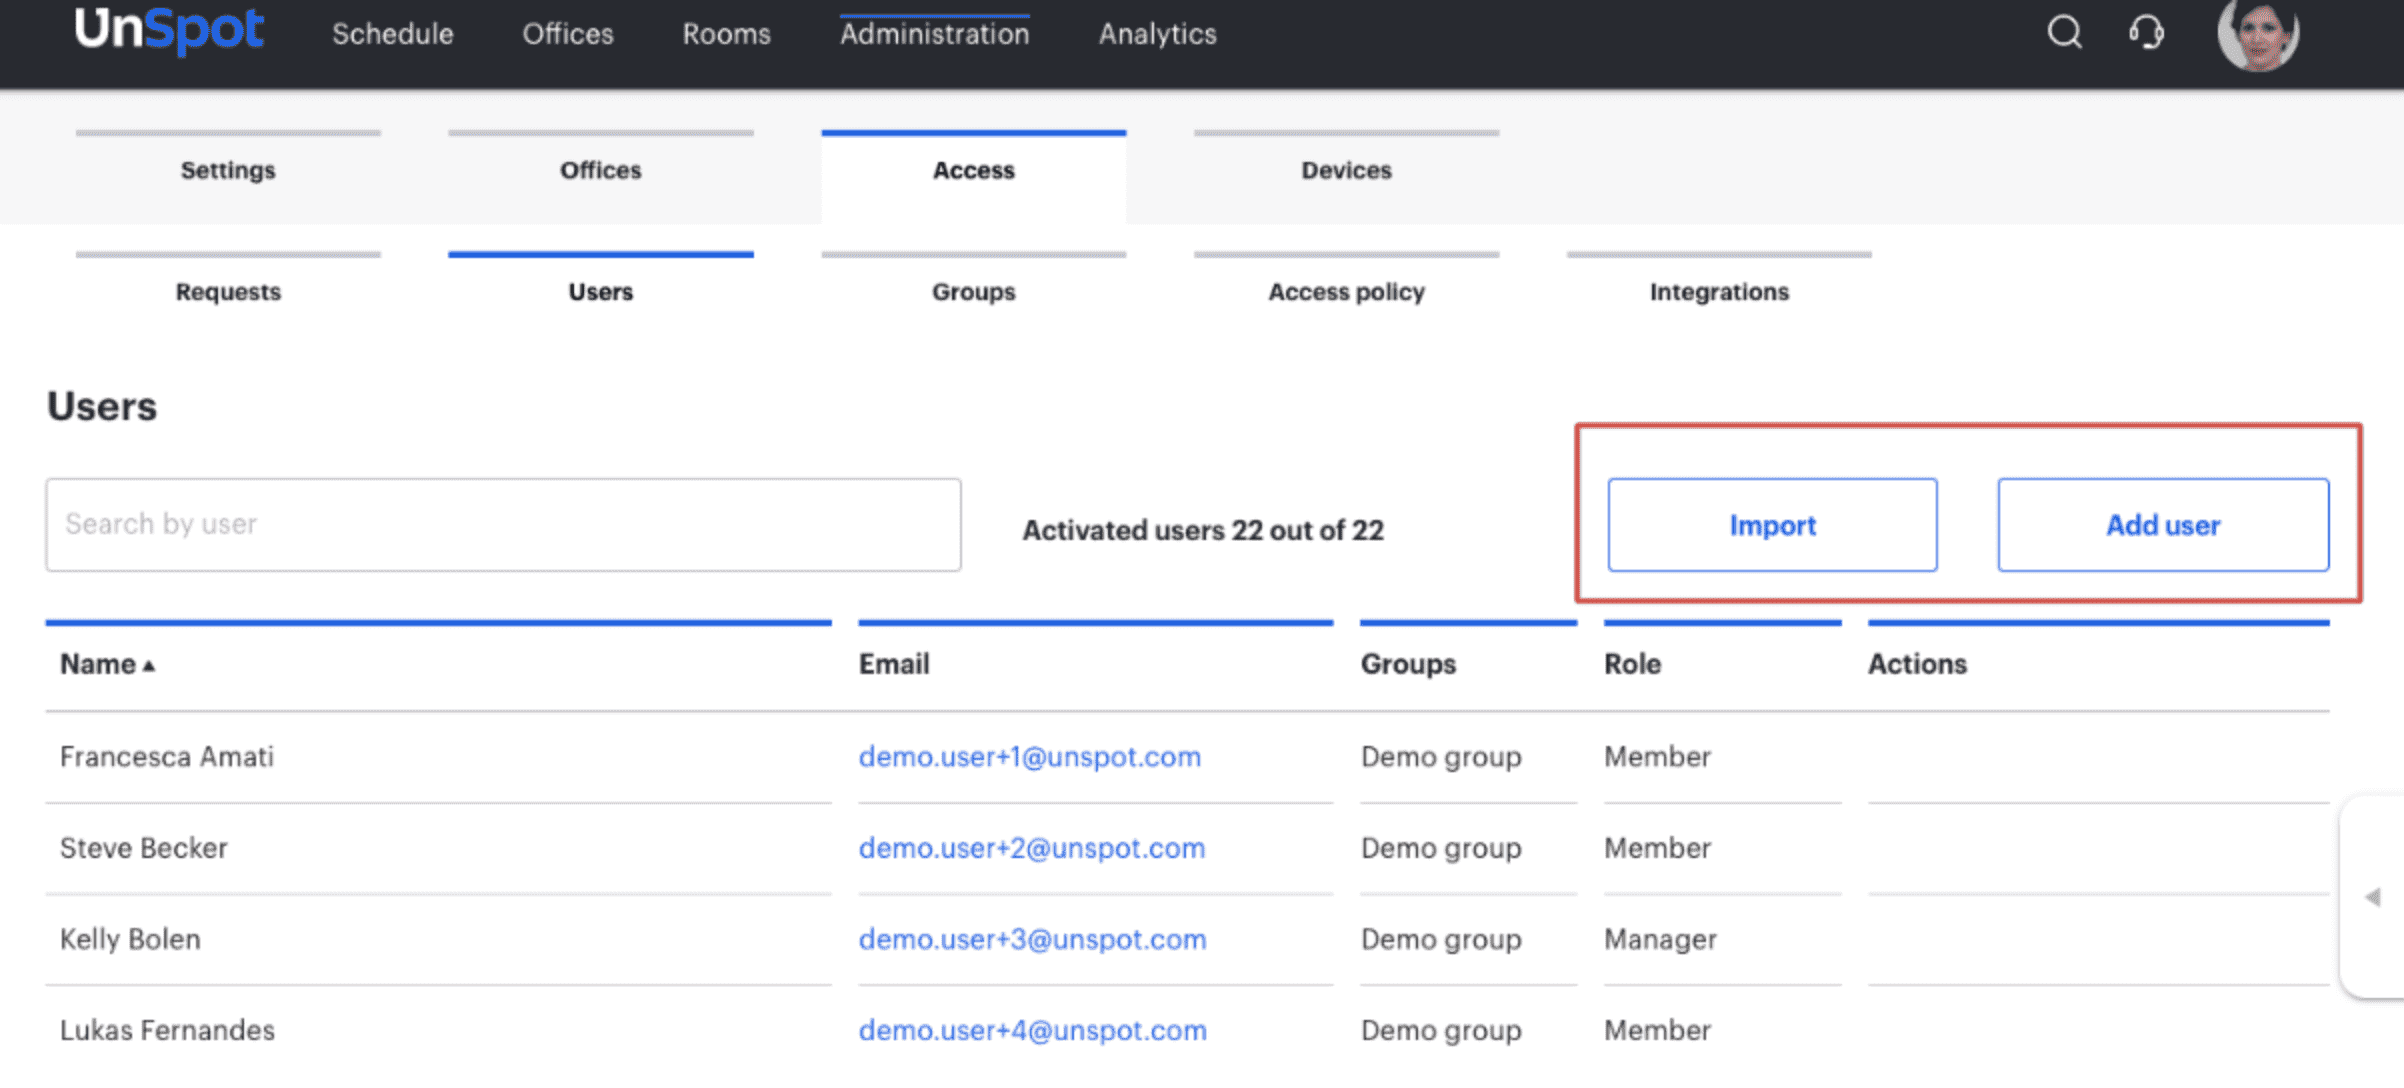
- Open the “Administration” section, click on the “Access” button and click on the “Users” button

- Upload a list of users in a CSV file using the Import button or add users one by one using the “Add user” button
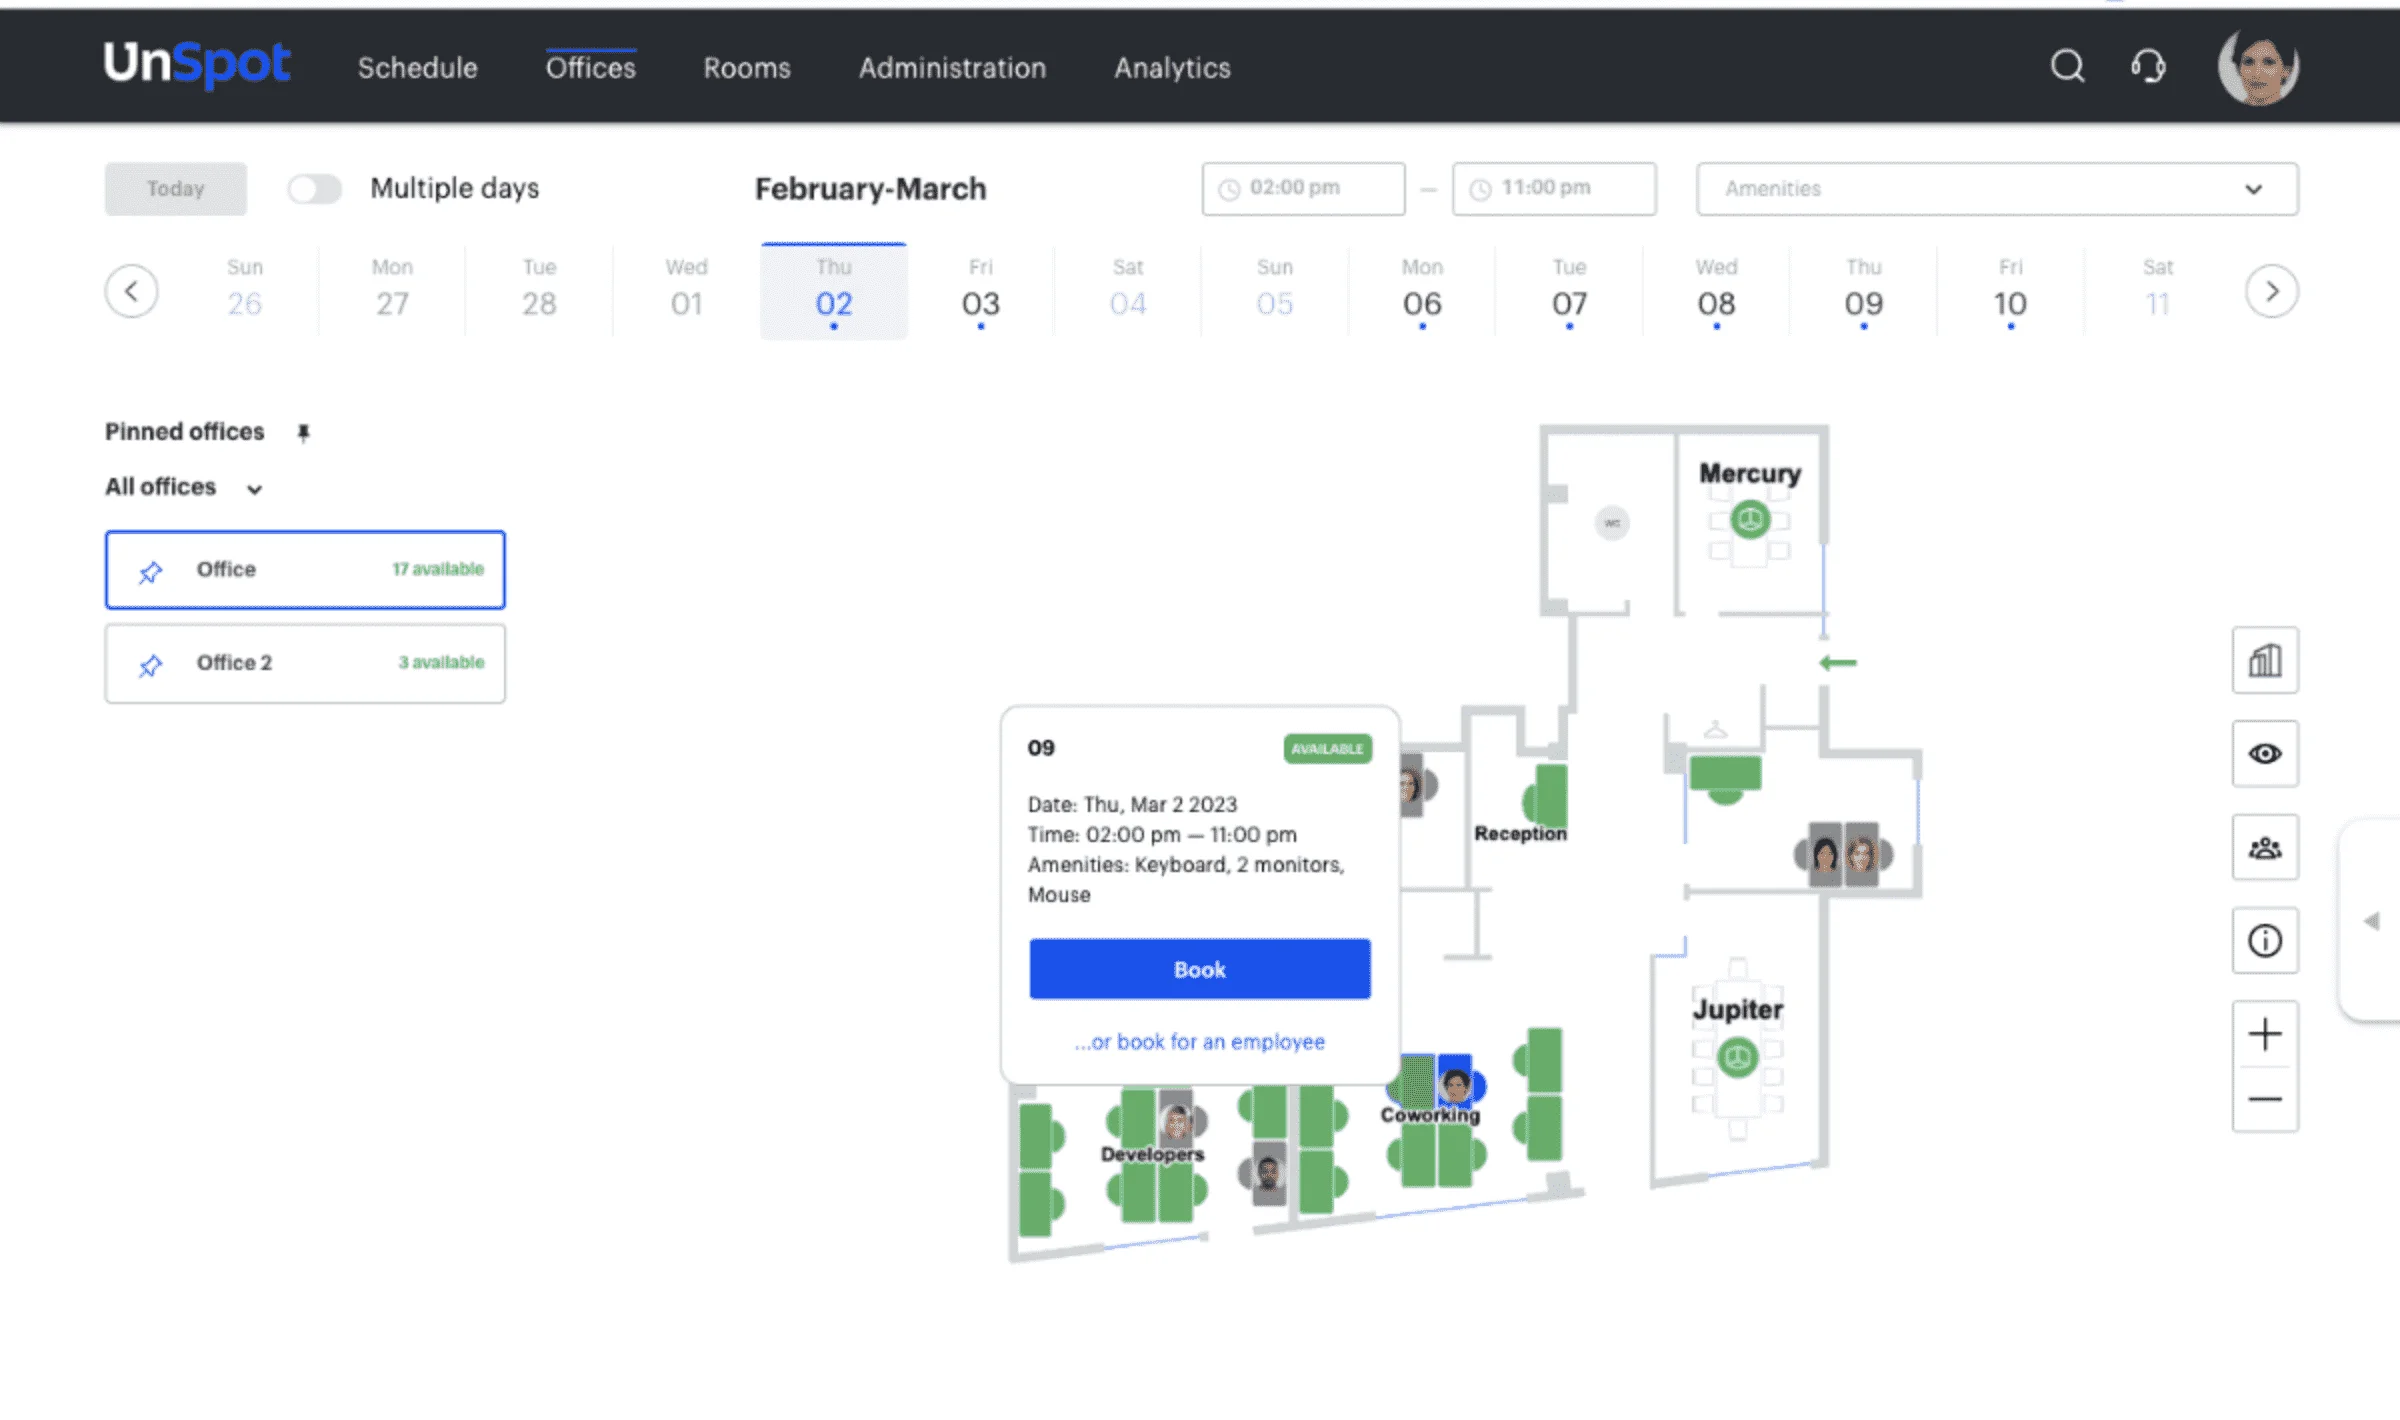
- Congratulations! Now you and your employees can go to the “Offices” section and start booking desks